Install acoustic panelling — step by step
Dampen the echo and lift the room — in an afternoon.
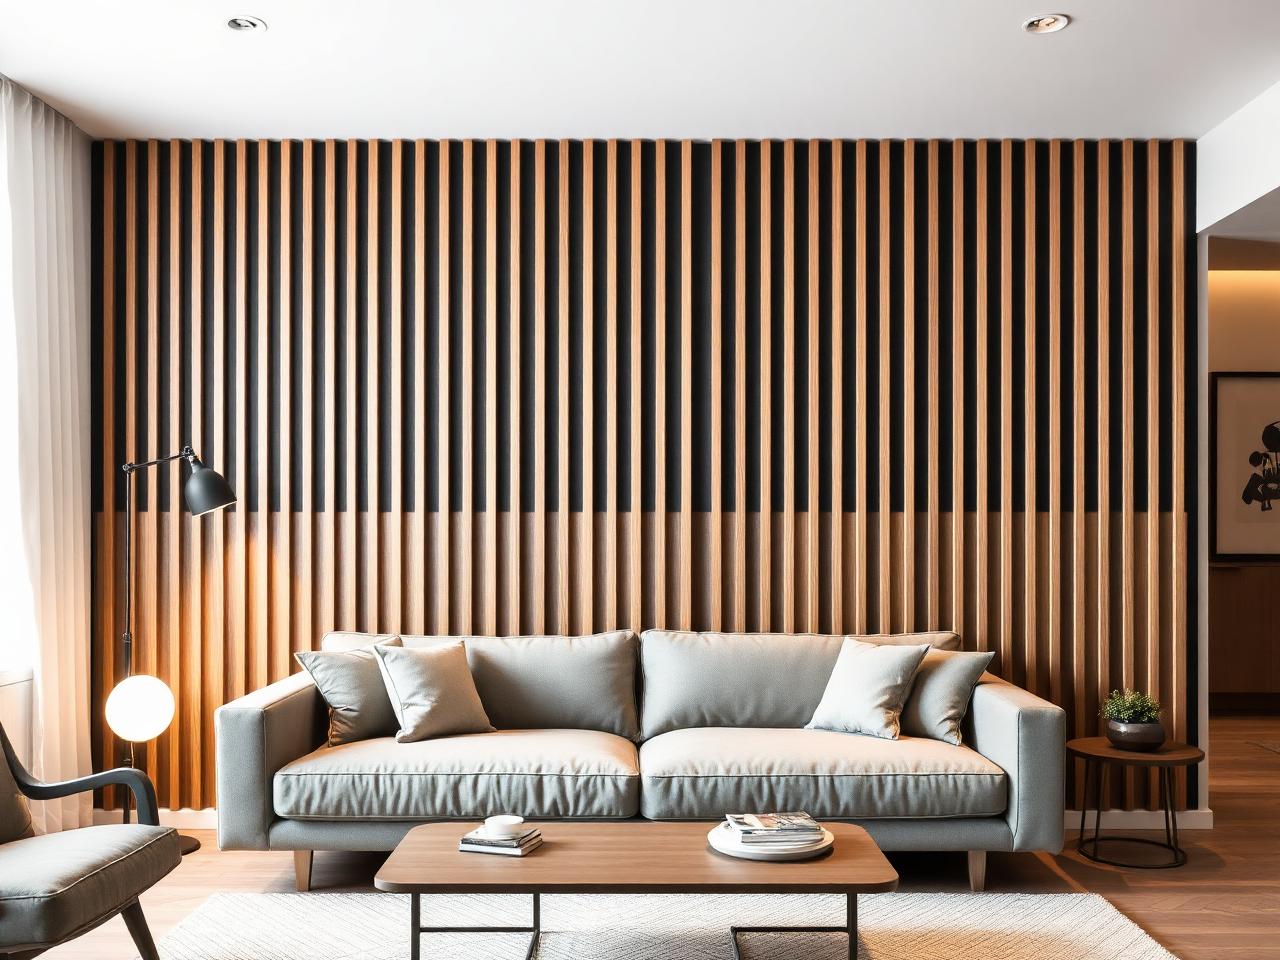
This is a complete guide to install acoustic panelling yourself — step by step, with a material list, tools, a timeline and what it costs. It's written for anyone building at home without professional experience: count on 1 day and a material cost of around 2,000–8,000 kr.
Showing method: Acoustic panel with screws (most common)
The price is an estimate based on typical material prices and can vary depending on size, material choice, location and store.
Which method suits you best?
Best for: Standard plasterboard or timber walls where small screws are acceptable.
Please note: Material quantities, prices and building methods are guidelines. Always check current prices, local regulations and product instructions before starting a project.
How acoustic panelling comes together
Acoustic panelling — wood slats over black felt — is one of the fastest ways to transform a room. It dampens echo, adds warm character and hides uneven walls. Ready-made panels (typically 60 × 240 cm) go up in a few hours with screws or construction adhesive.
Materials for acoustic panelling — full list
Check items off while you shop — the list stays with you on the page.
Install acoustic panelling step by step
- 01
Measure the wall and plan the layout
Measure the width and height of the wall. A standard panel is 60 × 240 cm. Work out how many panels you need. Decide whether the panels should run floor to ceiling or only partway — and whether you need to trim any to width. Mark the centre and work outward in both directions so any cut panels end up symmetrical.
Tip: Sketch a wider layout on paper first — you'll instantly see if the last panel ends up too narrow and need to adjust the starting point. - 02
Check what's inside the wall
Use a cable and stud detector and mark wiring, pipes and studs. Don't screw into a cable run.
- 03
Cut panels to length
Measure from floor to ceiling (or your desired height) and cut the panels with a fine-toothed saw or jigsaw. Cut from the back so the felt doesn't fray. Also cut any side panels to the right width — saw along the felt between two slats.
Tip: Put masking tape over the cut line before sawing — it gives a cleaner edge. - 04
Fit the first panel
Start at the most important corner (usually where the eye lands first). Set the panel plumb using a spirit level. Screw through the felt between the slats with black chipboard screws — 5–6 screws down the right-hand side of the panel (these get hidden by the next panel). Screws driven well into the felt are barely visible.
- 05
Fit the rest using the same technique
Press the next panel against the previous one so the slats sit in an even rhythm with no gaps. Screw through the felt on the right-hand side. Repeat all the way along. Check plumb every third panel.
- 06
Work around sockets and obstacles
Measure carefully and cut holes for sockets and switches with a jigsaw before you put the panel up. It's easier to cut accurately on the floor than once it's mounted.
- 07
Finish the edges
Use an L-trim, architrave, or paint the wall behind black where the panels don't quite reach. At the top and bottom you can also screw on a narrow black trim to hide the cut edge.
Help specific to install acoustic panelling
How the time breaks down
A wall of 6–10 m² takes 4–6 hours including cutting and working around sockets. Larger areas without obstacles go even faster.
- Planning & measuring30 min
- Checking cables & studs15 min
- Cutting panels30–60 min
- Mounting (5–8 panels)2–3 hours
- Working around sockets30 min
- Finishing trims30–60 min
How to save time
- Two people halve the time — one holds, one screws.
- Use construction adhesive instead of screws on a flat wall — the neatest result, with no screws to hide.
- Cut all the panels first, then mount them — fewer switches between saw and drill.
Questions and answers about install acoustic panelling
How do you install acoustic panelling?
Acoustic panelling — wood slats over black felt — is one of the fastest ways to transform a room. It dampens echo, adds warm character and hides uneven walls. Ready-made panels (typically 60 × 240 cm) go up in a few hours with screws or construction adhesive. The guide breaks the work into 7 steps — you start with measure the wall and plan the layout, check what's inside the wall and cut panels to length and work your way forward at your own pace.
How much does it cost to install acoustic panelling?
Material cost is typically 2,000–8,000 kr. Total cost 2,000–8,000 kr for a typical wall (6–12 m²). Price varies a lot depending on the wood type — oak costs about twice as much as walnut veneer. The biggest items are acoustic panels 60×240 cm (per panel = 1.44 m²) 350–900 kr/pc, screws (black chipboard screws) 80–150 kr and construction adhesive (if used) 70–120 kr/tube. The price varies with size, material choice, location and store.
What materials do you need for acoustic panelling?
You'll need things like acoustic panels 60 × 240 cm (oak/walnut/black), wood/chipboard screws 4 × 35 mm (black), or construction adhesive (e.g. sika tack), black paint or felt and any finishing/corner trims — the full material list with quantities is in the guide and can be checked off while you shop. Tools you'll need at home: drill & batteries, jigsaw or fine-toothed saw, tape measure & pencil and spirit level.
How long does it take and how hard is it?
Count on 1 day for acoustic panelling. A wall of 6–10 m² takes 4–6 hours including cutting and working around sockets. Larger areas without obstacles go even faster. The difficulty level is easy, so you can manage it without professional experience if you follow the steps in order.
Which method should I choose for acoustic panelling?
There are 3 common ways to build it: acoustic panel with screws (most common), acoustic panel with construction adhesive and acoustic panelling on the ceiling. Choose a method at the top of the page — the guide, material list and cost then adapt to that solution.
What's the most common mistake?
The mistakes we see most often: screwing into the front of a slat instead of the felt — the screw stays visible, forgetting to check plumb — after 6 panels they're suddenly 2 cm out and starting from the left edge without a plan — the last panel ends up an awkward width. Read through the whole guide once before you start — that way you'll avoid most of them.
And that's it, done.
Take a step back, pour a cup of coffee and enjoy. You built it yourself.
Next project: Build a garden shedDid this guide help you?
Your opinion helps us improve our content.
Built something you're proud of?
Send us photos of your finished project — we pick out and publish them as inspiration for others who want to install acoustic panelling.
Related indoor projects
If you're planning to install acoustic panelling, one of these projects is often a great fit to do at the same time.
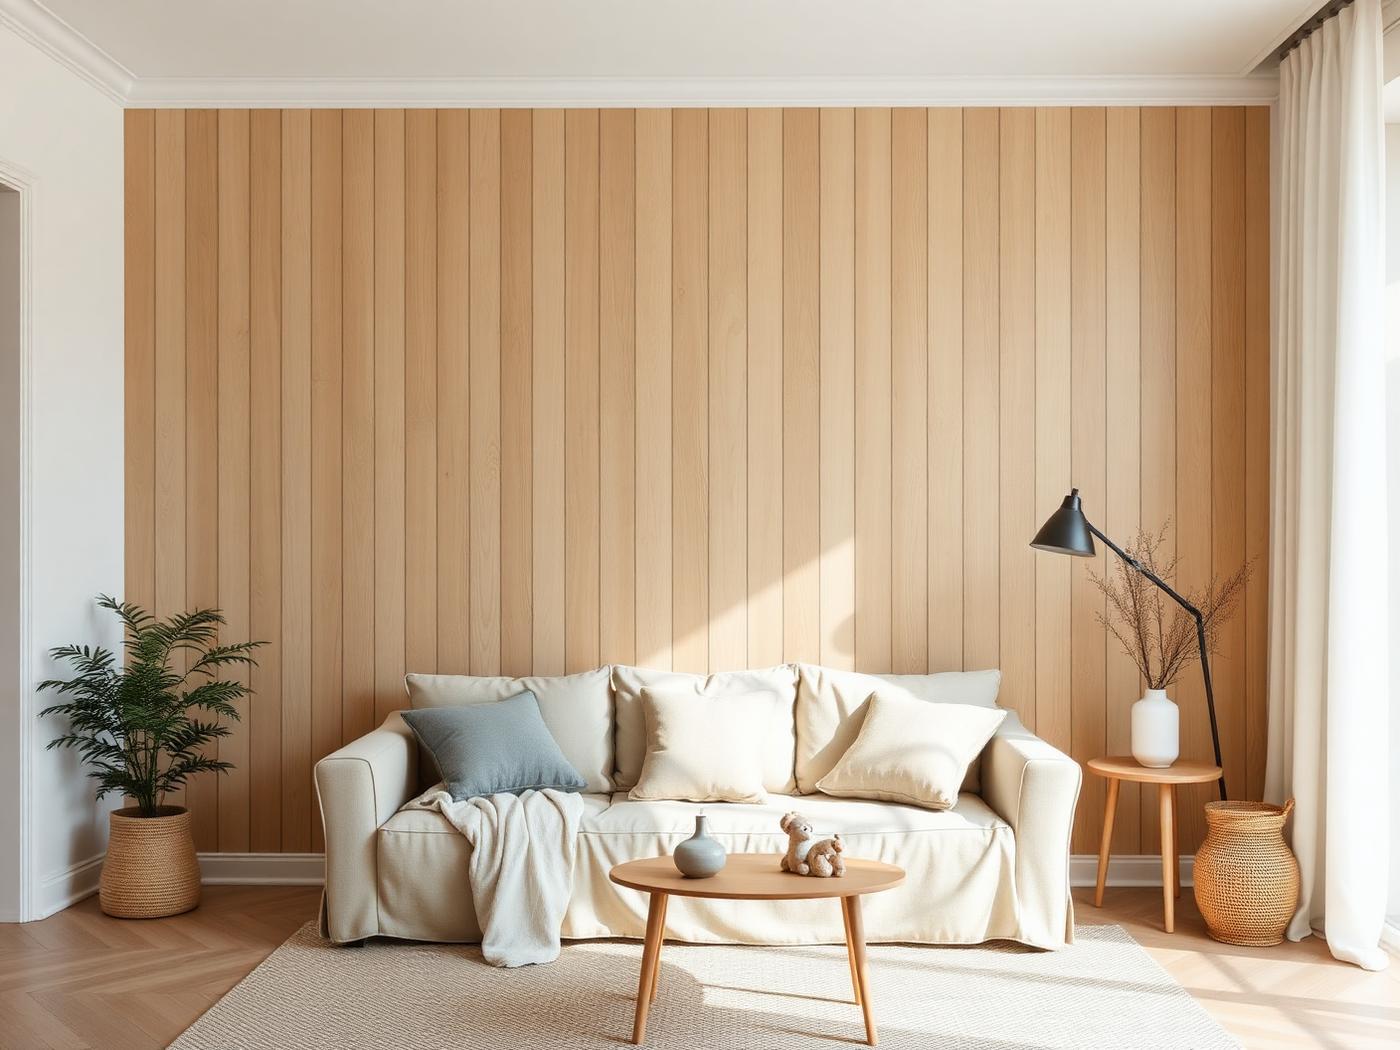
Install wall panelling
Transform a room with warm wood panelling — in a weekend.
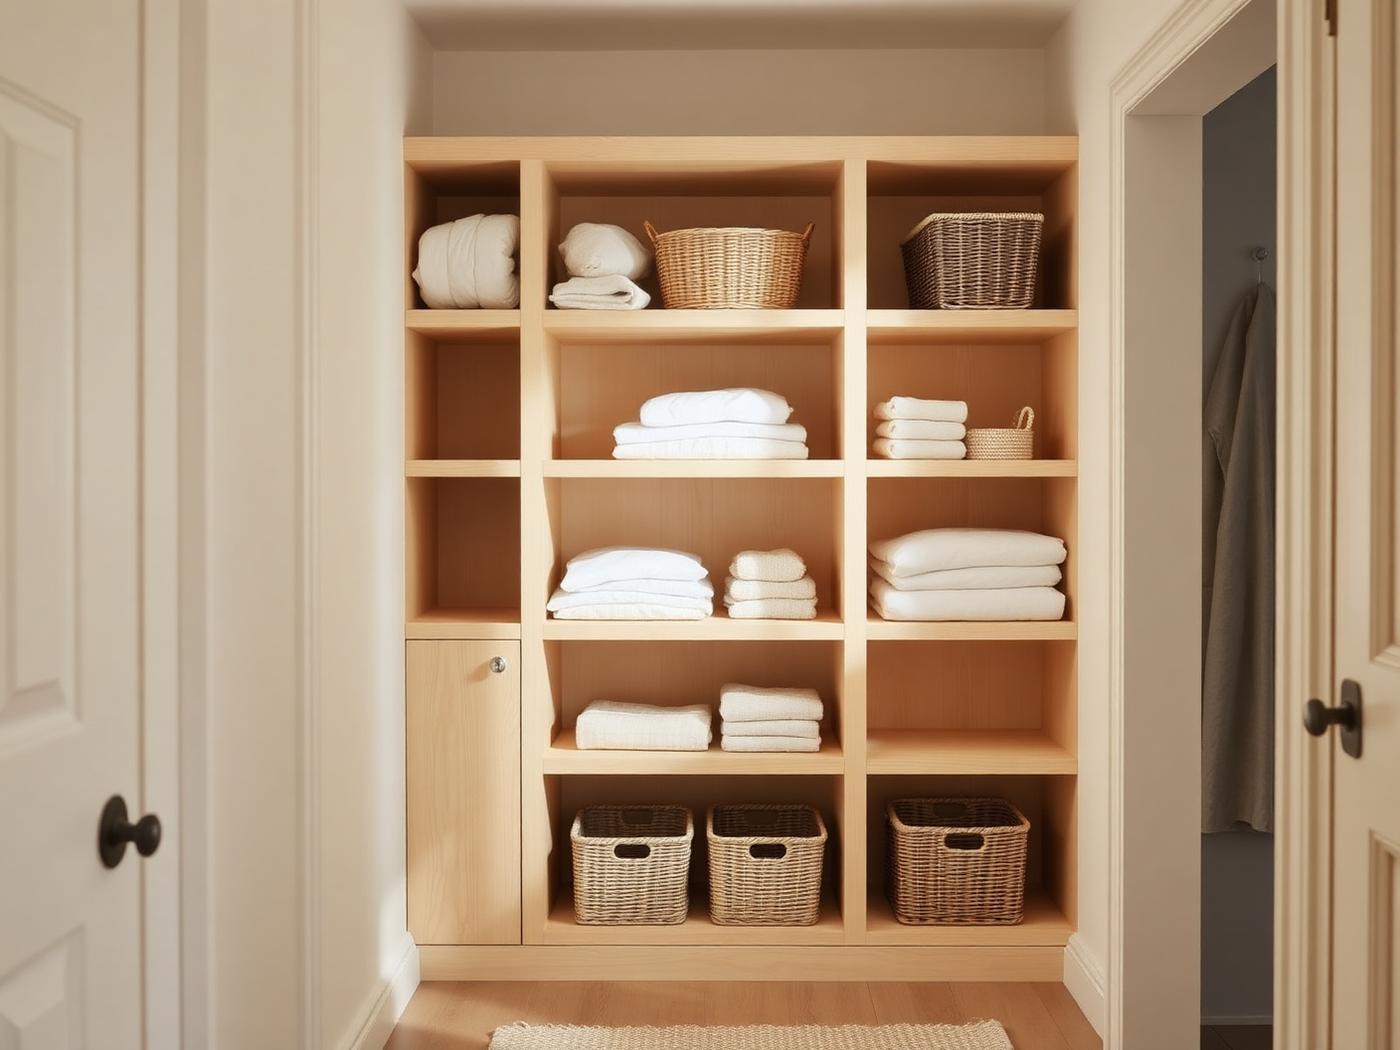
Build storage
Built-in shelving that looks like it's always belonged there.
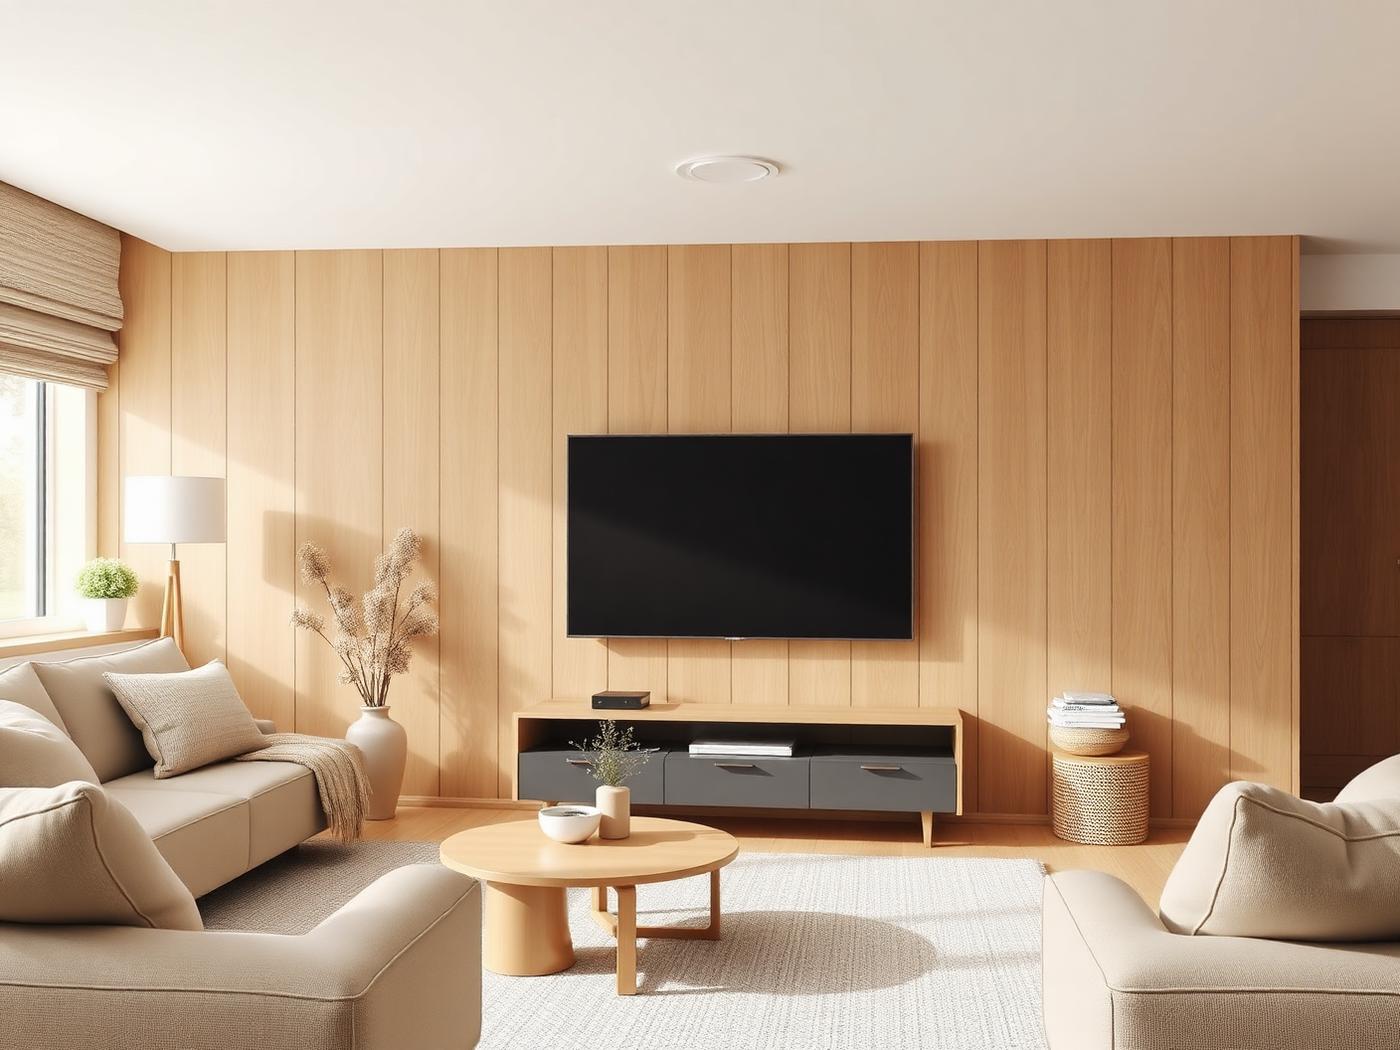
Mount a TV
Hang the TV straight, securely and with hidden cables — in an afternoon.