Install wall panelling — step by step
Transform a room with warm wood panelling — in a weekend.
This is a complete guide to install wall panelling yourself — step by step, with a material list, tools, a timeline and what it costs. It's written for anyone building at home without professional experience: count on 1 weekend and a material cost of around 3,000–7,000 kr.
Showing method: Tongue-and-groove panel on battens
The price is an estimate based on typical material prices and can vary depending on size, material choice, location and store.
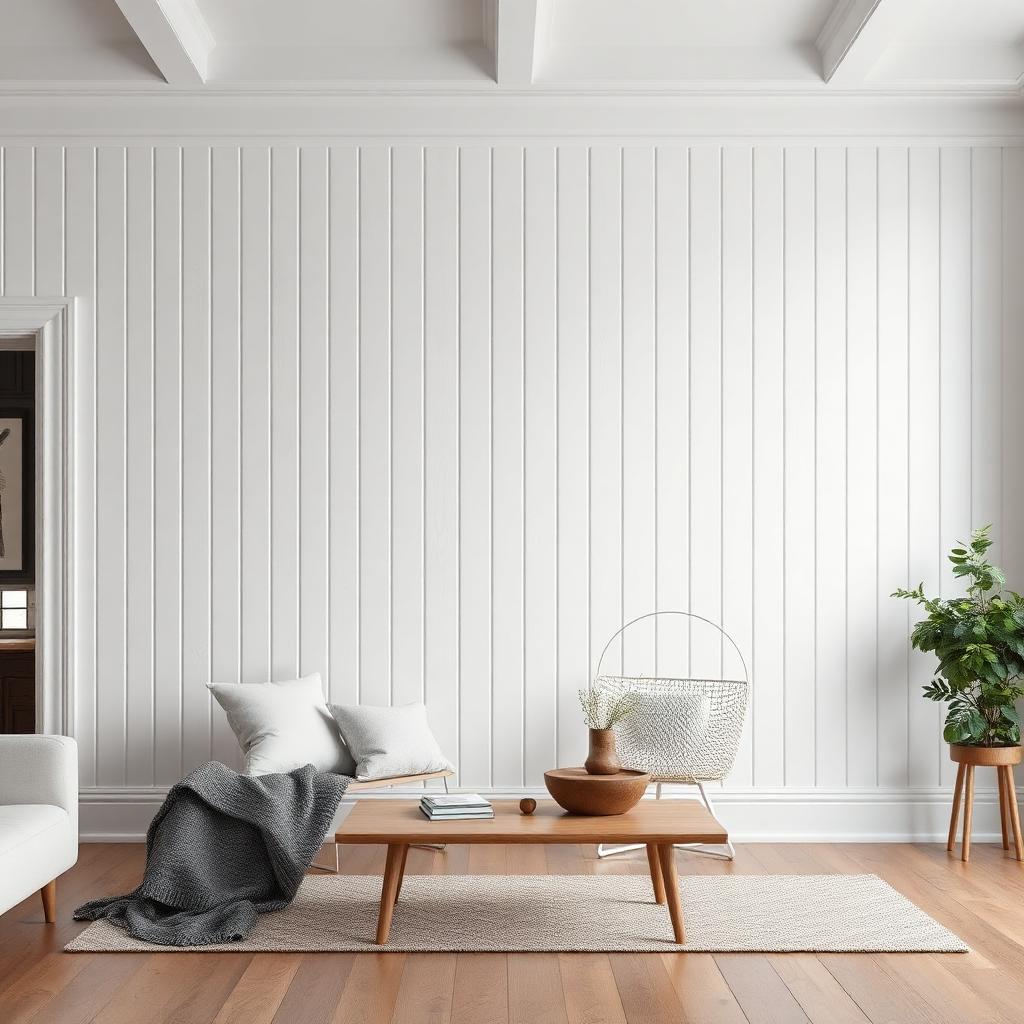
Which method suits you best?
Best for: External walls or thick internal walls where you want an air gap behind the panelling.
Please note: Material quantities, prices and building methods are guidelines. Always check current prices, local regulations and product instructions before starting a project.
How wall panelling comes together
Wall panelling gives a room instant character and warmth. It's one of the easiest projects to start with — you don't need any heavy machinery and the result shows immediately. We'll cover planning the pattern, fixing the battens, and keeping the lines straight all the way.
Materials for wall panelling — full list
Check items off while you shop — the list stays with you on the page.
Install wall panelling step by step
- 01
Plan the pattern
Decide whether the panelling should run vertically (makes the room feel taller) or horizontally (makes it feel wider). Measure the wall and sketch on paper how many boards you'll need.
Tip: Take a photo of the wall, print it out and sketch on it with a pencil — you'll see straight away what works. - 02
Screw on the battens
The battens are the backing the panelling sits on. Screw them on horizontally at 60 cm spacing, starting at the floor and finishing at the ceiling. Use a spirit level on every batten.
- 03
Measure and cut the first board
Measure the panel height carefully — remember to leave a 5 mm gap both top and bottom for movement. Cut straight with a jigsaw.
- 04
Nail up the first board plumb
The first board is the most important — it guides all the others. Use a spirit level and check both plumb and level before nailing it in place.
Tip: Nail through the groove (if the panelling is tongue-and-groove) so no nail heads show at all. - 05
Work your way along the wall
Push the next board against the first, nail it in place and check the level every third or fourth board. Use wedges against the floor to keep the boards stable.
- 06
Handle corners and obstructions
When you reach a corner or a window, measure carefully and cut with a jigsaw. You can hide joints later with a trim strip or acrylic sealant.
- 07
Fit trim and seal
Fit a trim strip along the floor and ceiling to hide the gap. Fill any small gaps with acrylic sealant, then smooth it with a damp finger.
- 08
Oil or paint
Apply a natural oil for a warm, natural look — or paint in a soft white tone. Two thin coats give the best result.
Help specific to install wall panelling
How the time breaks down
Panelling of around 12 m² takes a weekend — allow 10–14 hours of work plus a week for acclimatisation.
- Acclimatising the panelling in the room5–7 days before starting
- Measuring, planning, cutting battens1–2 hours
- Screwing the battens to the wall2 hours
- Nailing up the panelling4–6 hours for 12 m²
- Trim, sealant and oil/paint3–4 hours (plus drying time)
How to save time
- Hire a nail gun for 250 kr/day — you'll work three times as fast compared to a hammer.
- Mark the batten positions on the floor first — you only need to measure once.
- Order the panelling a week in advance so it has time to acclimatise — otherwise it will bow after fitting.
Questions and answers about install wall panelling
How do you install wall panelling?
Wall panelling gives a room instant character and warmth. It's one of the easiest projects to start with — you don't need any heavy machinery and the result shows immediately. We'll cover planning the pattern, fixing the battens, and keeping the lines straight all the way. The guide breaks the work into 8 steps — you start with plan the pattern, screw on the battens and measure and cut the first board and work your way forward at your own pace.
How much does it cost to install wall panelling?
Material cost is typically 3,000–7,000 kr. Total cost 3,000–7,000 kr for around 12 m². The choice of panel affects the price the most — knotty pine is half the price of clear-grain spruce. The biggest items are pine/spruce panel 15×95 mm (12 m² + 10% wastage) 1,800–4,200 kr, battens 22×45 mm (~25 m) 300–500 kr and panel pins/wire nails & screws 150–250 kr. The price varies with size, material choice, location and store.
What materials do you need for wall panelling?
You'll need things like pine or spruce panel 15 × 95 mm, battens 22 × 45 mm, wall plugs for concrete walls, wood or steel screws 4.5 × 60 mm and panel pins/wire nails 35 mm — the full material list with quantities is in the guide and can be checked off while you shop. Tools you'll need at home: drill, jigsaw or mitre saw, spirit level and tape measure & pencil.
How long does it take and how hard is it?
Count on 1 weekend for wall panelling. Panelling of around 12 m² takes a weekend — allow 10–14 hours of work plus a week for acclimatisation. The difficulty level is easy, so you can manage it without professional experience if you follow the steps in order.
Which method should I choose for wall panelling?
There are 3 common ways to build it: tongue-and-groove panel on battens, beadboard glued straight onto plasterboard and wide horizontal panelling. Choose a method at the top of the page — the guide, material list and cost then adapt to that solution.
What's the most common mistake?
The mistakes we see most often: starting before the panelling has acclimatised — let the boards sit in the room for a week, not leaving a gap — the panelling will bow when humidity changes and being careless with the first board — every mistake gets copied across the whole wall. Read through the whole guide once before you start — that way you'll avoid most of them.
And that's it, done.
Take a step back, pour a cup of coffee and enjoy. You built it yourself.
Next project: Build outdoor furnitureDid this guide help you?
Your opinion helps us improve our content.
Built something you're proud of?
Send us photos of your finished project — we pick out and publish them as inspiration for others who want to install wall panelling.
Related indoor projects
If you're planning to install wall panelling, one of these projects is often a great fit to do at the same time.
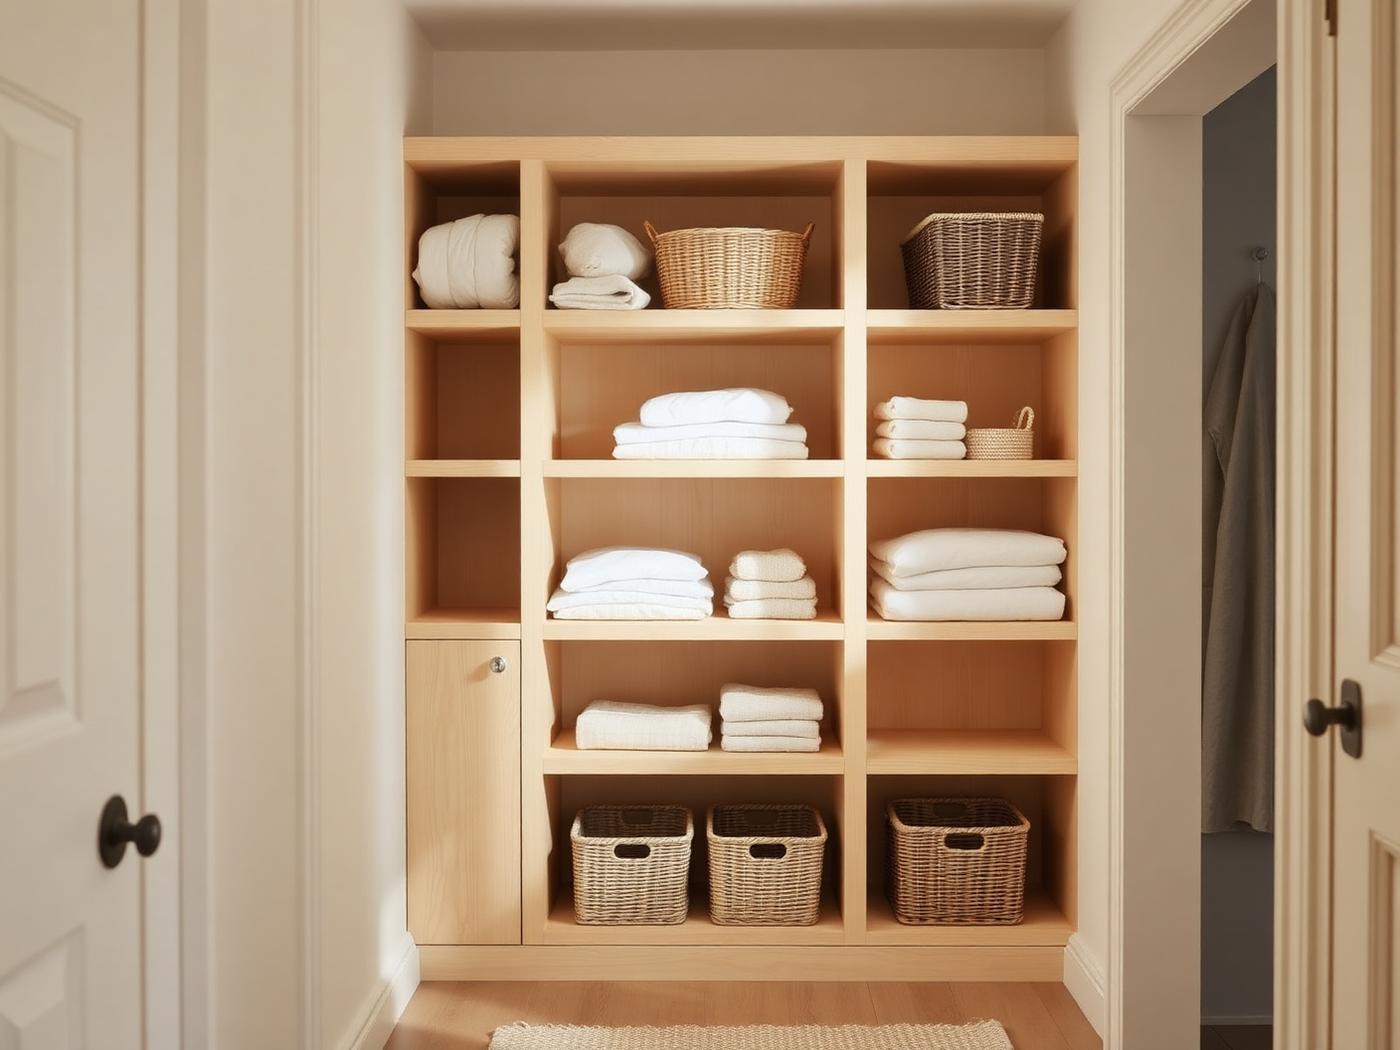
Build storage
Built-in shelving that looks like it's always belonged there.
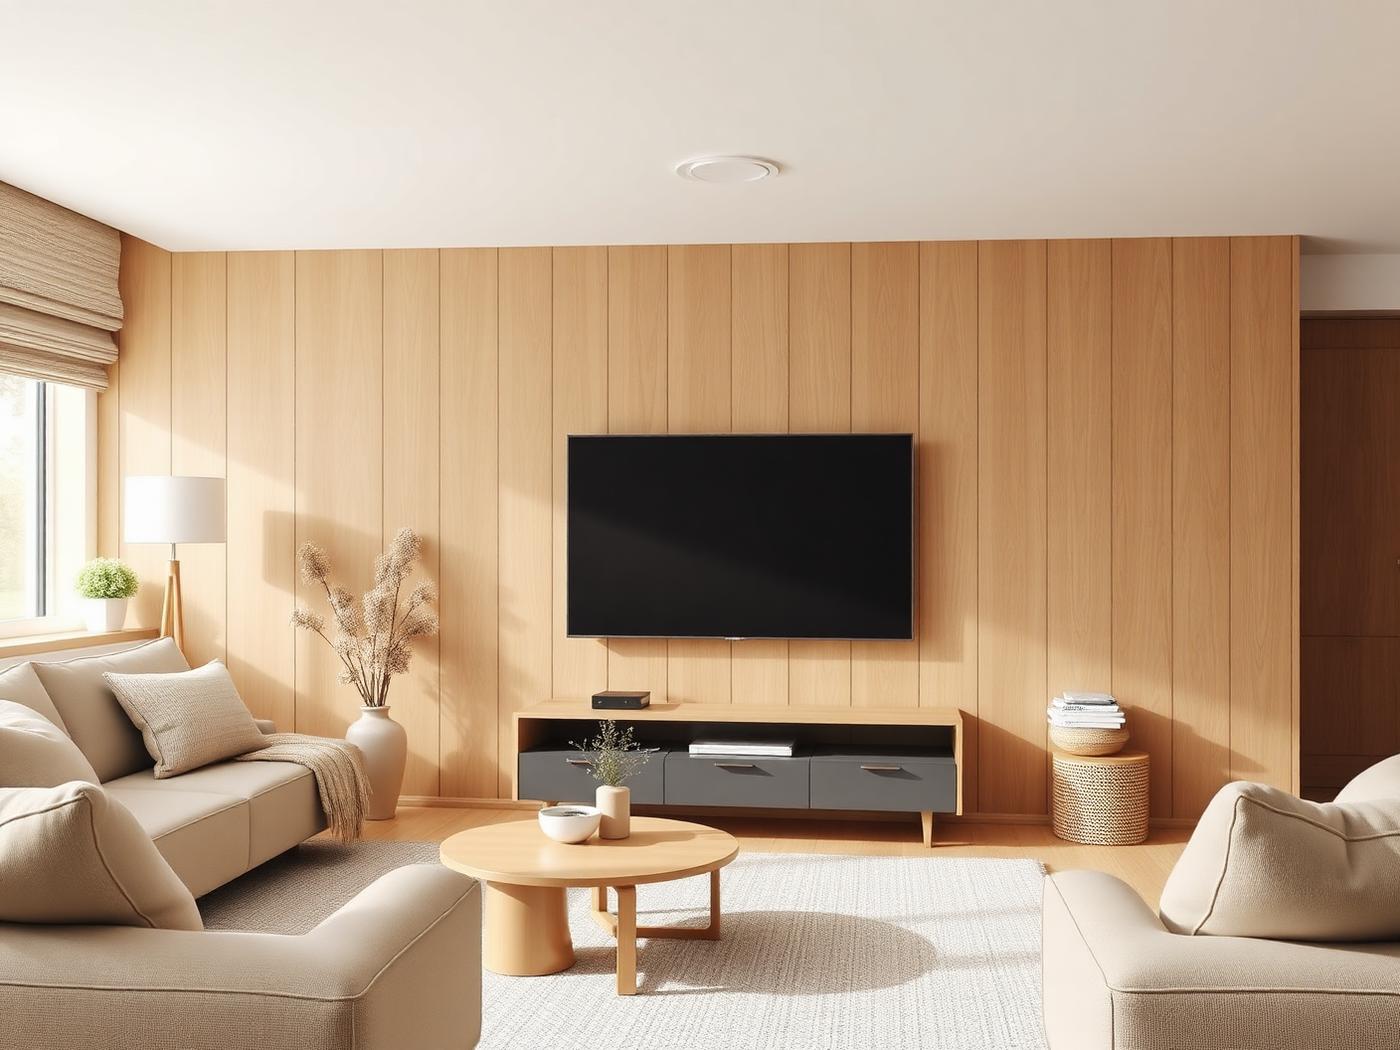
Mount a TV
Hang the TV straight, securely and with hidden cables — in an afternoon.
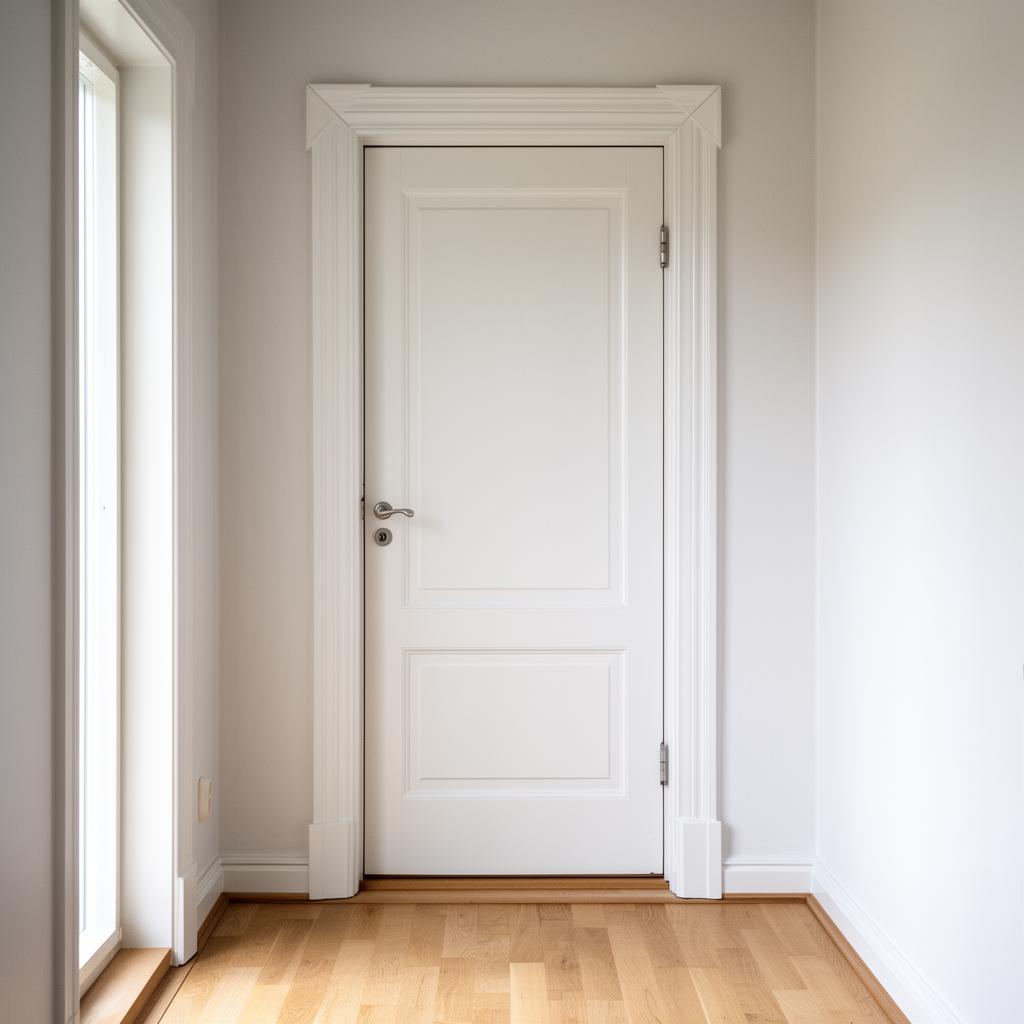
Replace door casing & trim
Freshen up a room by replacing the door casing and trim — it shows instantly.