Build storage — step by step
Built-in shelving that looks like it's always belonged there.
This is a complete guide to build storage yourself — step by step, with a material list, tools, a timeline and what it costs. It's written for anyone building at home without professional experience: count on 1–2 weekends and a material cost of around 2,000–6,000 kr.
Showing method: Built-in shelving in plywoodRecommended
The price is an estimate based on typical material prices and can vary depending on size, material choice, location and store.
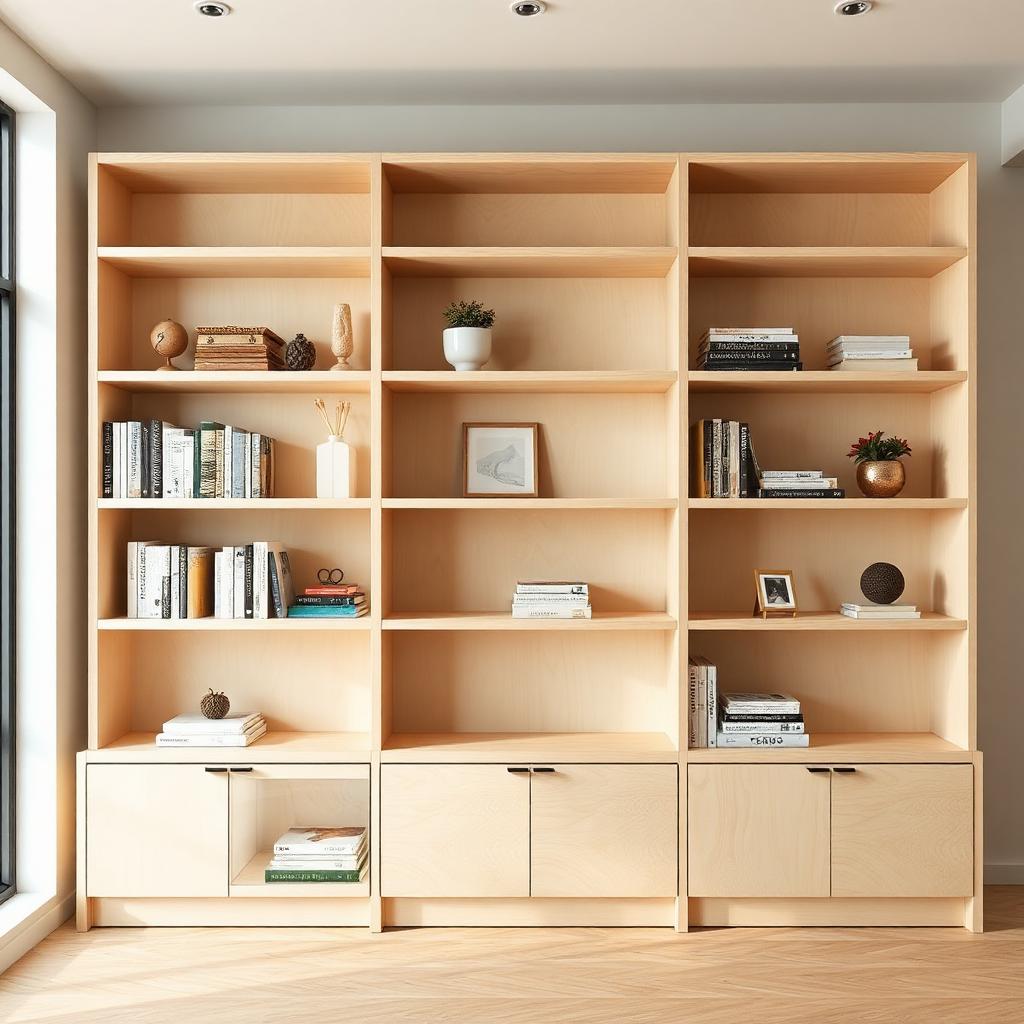
Which method suits you best?
Best for: Hallway, laundry room or alcove where you want the storage to look like part of the interior — perfectly fitted to the wall.
Please note: Material quantities, prices and building methods are guidelines. Always check current prices, local regulations and product instructions before starting a project.
How built-in storage comes together
Built-in storage is magic — it fills the room perfectly and makes the home feel thoughtfully designed. Here we build an open shelving section between two walls, perfect for a hallway or laundry room.
Materials for built-in storage — full list
Check items off while you shop — the list stays with you on the page.
Build storage step by step
- 01
Measure the space carefully
Measure width, height and depth in at least three places — walls are rarely perfectly straight. Use the smallest measurement as your working dimension, or the shelving won't fit.
Tip: Measure both near the floor and near the ceiling — you'll notice the difference. - 02
Sketch it out on paper
Sketch the shelf layout. Common rule: lower shelves for heavy items, higher ones for lighter things. Work out how many shelves you need.
- 03
Cut the sides and shelves
Ask the hardware store to cut the sheet for you — it's usually free and the result is always straighter than a DIY cut at home. Bring a cutting list.
- 04
Build the frame
Lay one side on the floor, attach the top and bottom pieces, and screw together. Lift it up and check the angles. The frame should stand on its own before you continue.
- 05
Drill holes for the shelf pins
Drill rows of holes for shelf pins on the inside of both sides. Use a template so the holes line up exactly — otherwise the shelves will wobble.
- 06
Glue and screw to the wall
Lift the unit into place. Drill and plug into the wall through the top piece and the back. Check with a spirit level before tightening.
- 07
Fit the front edges
Glue and screw narrow pine strips to the front edge of each shelf. This hides the plywood's exposed edge and makes the shelf look like solid wood.
Tip: Sand the front edges lightly rounded — that's the detail that lifts the whole build. - 08
Sand and paint
Sand all visible surfaces with 120 grit first, then 180. Apply two coats of finish paint or oil. Wait at least 12 hours between coats.
Help specific to build storage
How the time breaks down
Allow 10–16 working hours spread over 1–2 weekends. Most of the time goes on measuring and getting the sheet cut.
- Measuring & drawing1–2 hours
- Cutting the sheet (at the hardware store)30 min on site
- Assembling the frame3–4 hours
- Drilling shelf-pin holes & fixing to wall2–3 hours
- Front edges, sanding & painting4–6 hours (two coats)
How to save time
- Ask the hardware store to cut the sheet to your cutting list — it's often free and saves 2–3 hours.
- Pre-drill all screw holes — assembly goes twice as fast and without splitting.
- Paint the front edges and shelves before final assembly — you avoid working in tight corners.
Questions and answers about build storage
How do you build storage?
Built-in storage is magic — it fills the room perfectly and makes the home feel thoughtfully designed. Here we build an open shelving section between two walls, perfect for a hallway or laundry room. The guide breaks the work into 8 steps — you start with measure the space carefully, sketch it out on paper and cut the sides and shelves and work your way forward at your own pace.
How much does it cost to build storage?
Material cost is typically 2,000–6,000 kr. Total cost 2,000–6,000 kr depending on size and choice of materials. Sheet material is the biggest cost. The biggest items are furniture plywood/mdf 18 mm (1 full sheet) 800–1,500 kr, solid wood for front edges (~10 m) 300–500 kr and shelf pins, plugs & screws 150–300 kr. The price varies with size, material choice, location and store.
What materials do you need for built-in storage?
You'll need things like furniture-grade plywood or mdf 18 mm, solid pine 18 × 95 mm, wood glue, wood screws 4 × 50 mm and shelf pins / dowels — the full material list with quantities is in the guide and can be checked off while you shop. Tools you'll need at home: drill/driver, jigsaw, long spirit level and tape measure & pencil.
How long does it take and how hard is it?
Count on 1–2 weekends for built-in storage. Allow 10–16 working hours spread over 1–2 weekends. Most of the time goes on measuring and getting the sheet cut. The difficulty level is moderate, so you can manage it without professional experience if you follow the steps in order.
Which method should I choose for built-in storage?
There are 3 common ways to build it: built-in shelving in plywood, ready-made modules (ikea / elfa / pax) and floating wall shelves. Choose a method at the top of the page — the guide, material list and cost then adapt to that solution. We recommend built-in shelving in plywood for most homes.
What's the most common mistake?
The mistakes we see most often: trusting that the wall is straight — always measure in three places, rushing the shelf-pin holes — the shelves will end up wobbly and forgetting to fix it to the wall — an empty shelf tips over easily. Read through the whole guide once before you start — that way you'll avoid most of them.
And that's it, done.
Take a step back, pour a cup of coffee and enjoy. You built it yourself.
Next project: Mount a TVDid this guide help you?
Your opinion helps us improve our content.
Built something you're proud of?
Send us photos of your finished project — we pick out and publish them as inspiration for others who want to build storage.
Related indoor projects
If you're planning to build storage, one of these projects is often a great fit to do at the same time.
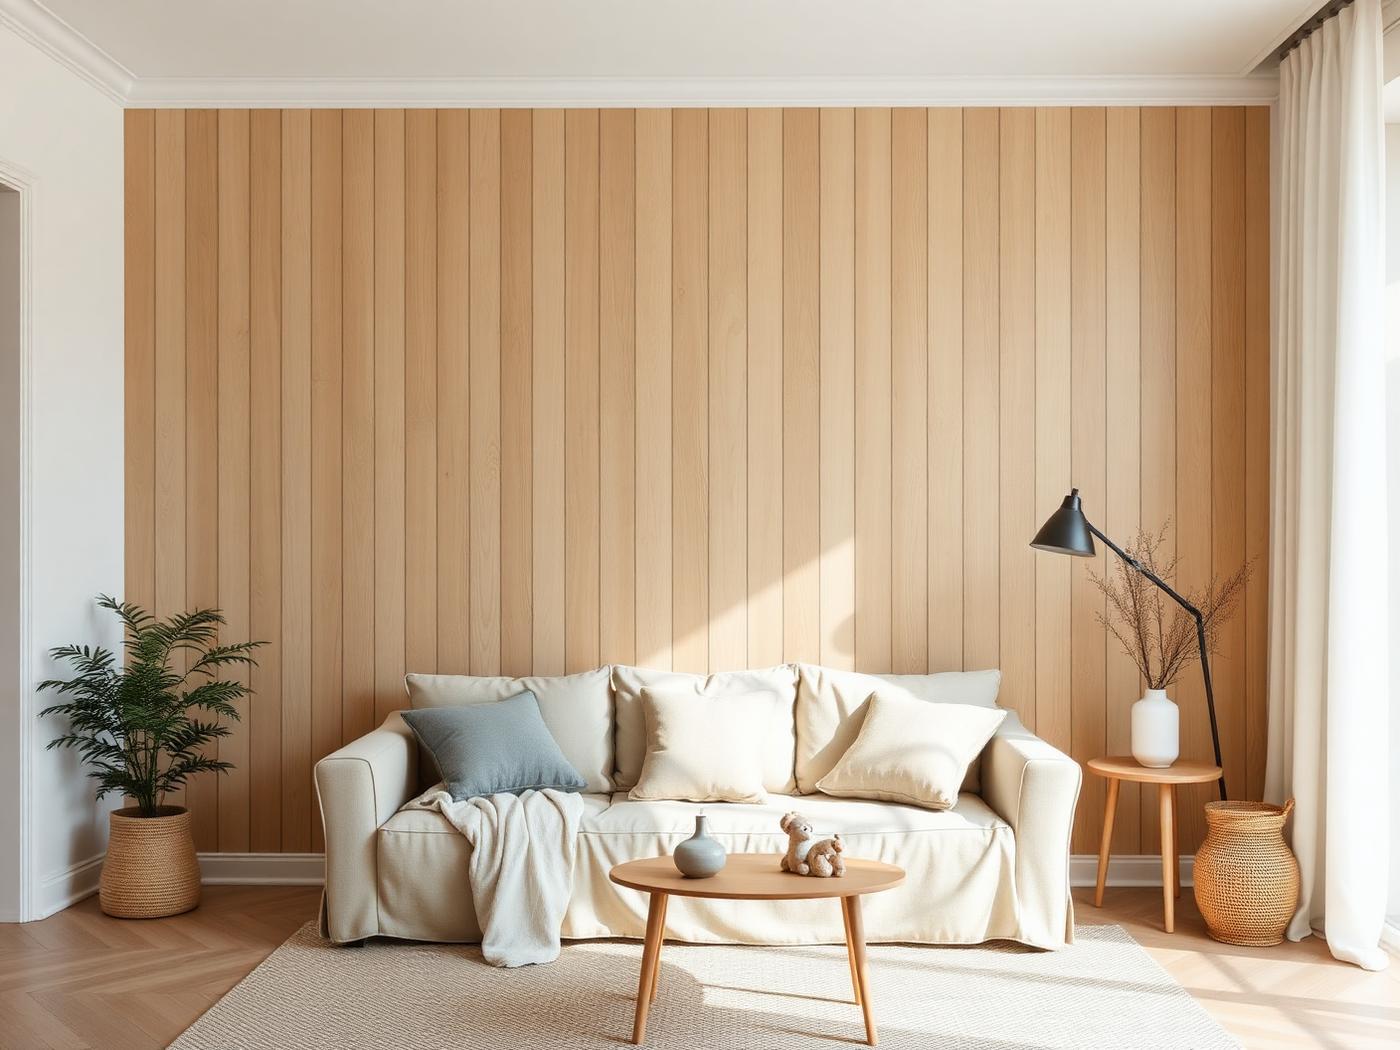
Install wall panelling
Transform a room with warm wood panelling — in a weekend.
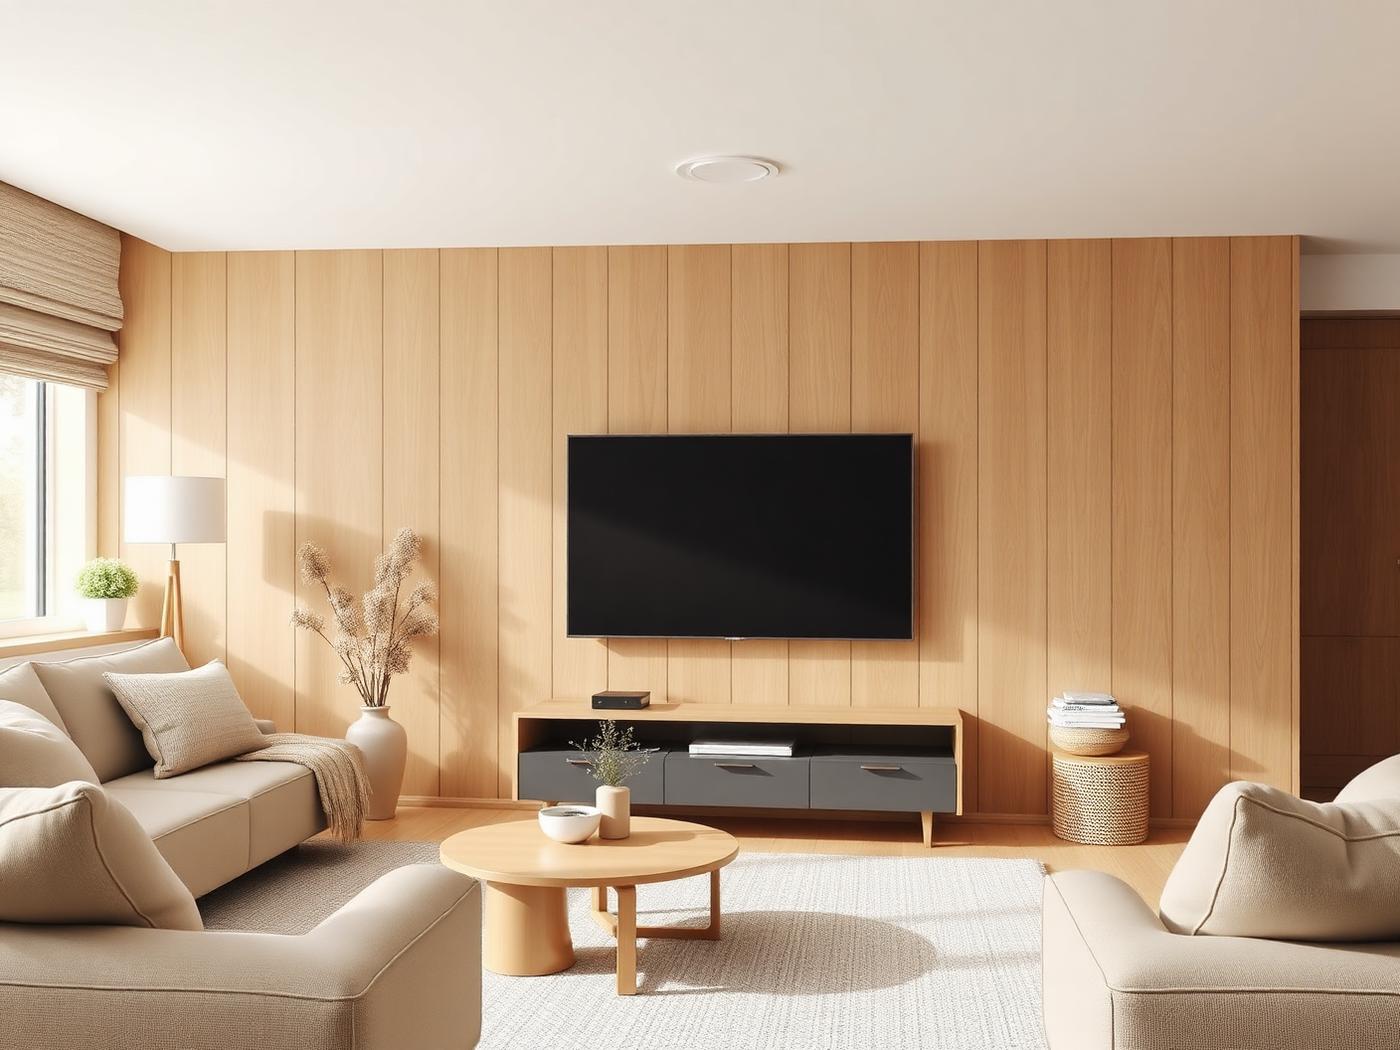
Mount a TV
Hang the TV straight, securely and with hidden cables — in an afternoon.
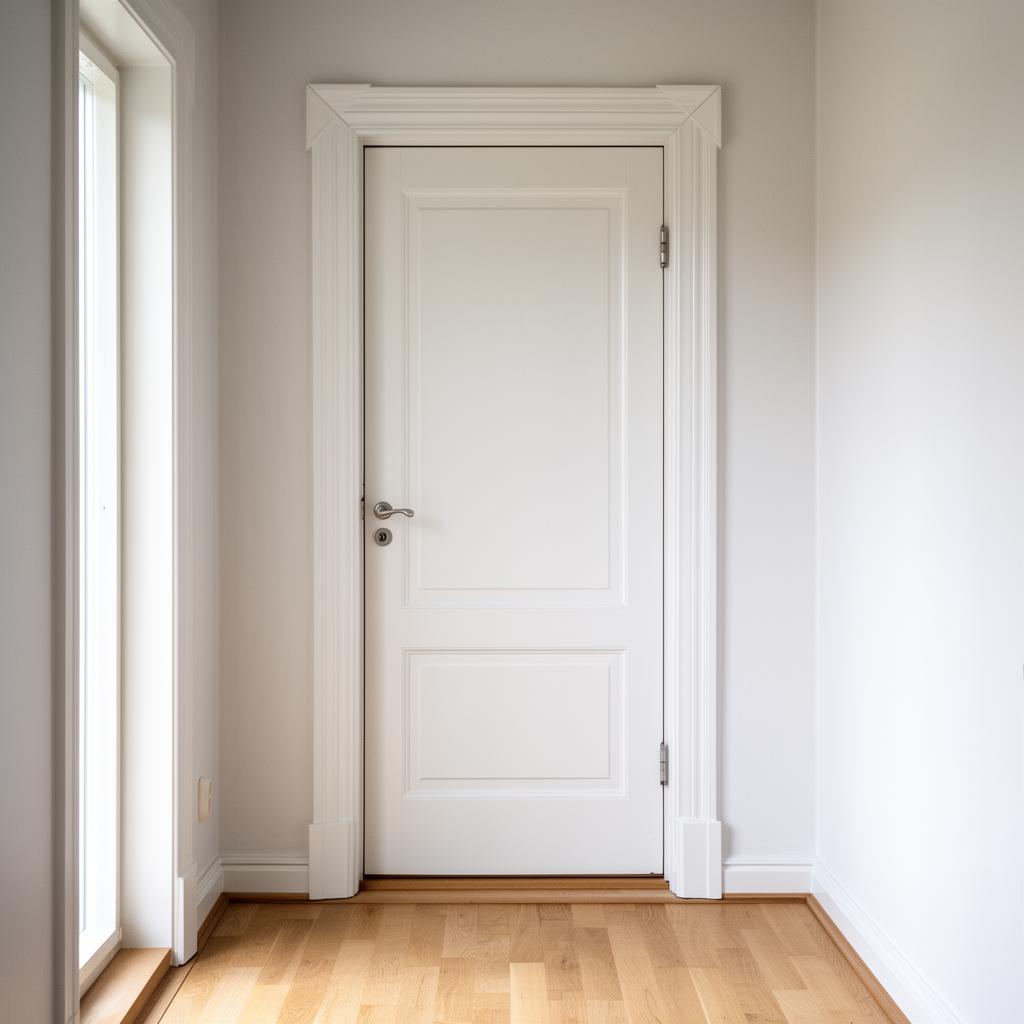
Replace door casing & trim
Freshen up a room by replacing the door casing and trim — it shows instantly.