Replace facade cladding – board-on-board — step by step
Vertical board-on-board cladding with base boards and cover boards — a facade that lasts 40 years.
This is a complete guide to replace facade cladding yourself — step by step, with a material list, tools, a timeline and what it costs. It's written for anyone building at home without professional experience: count on 3–6 weekends per facade side and a material cost of around 30,000–80,000 kr.
Showing method: Full cladding replacement with new wind membrane and battensRecommended
The price is an estimate based on typical material prices and can vary depending on size, material choice, location and store.
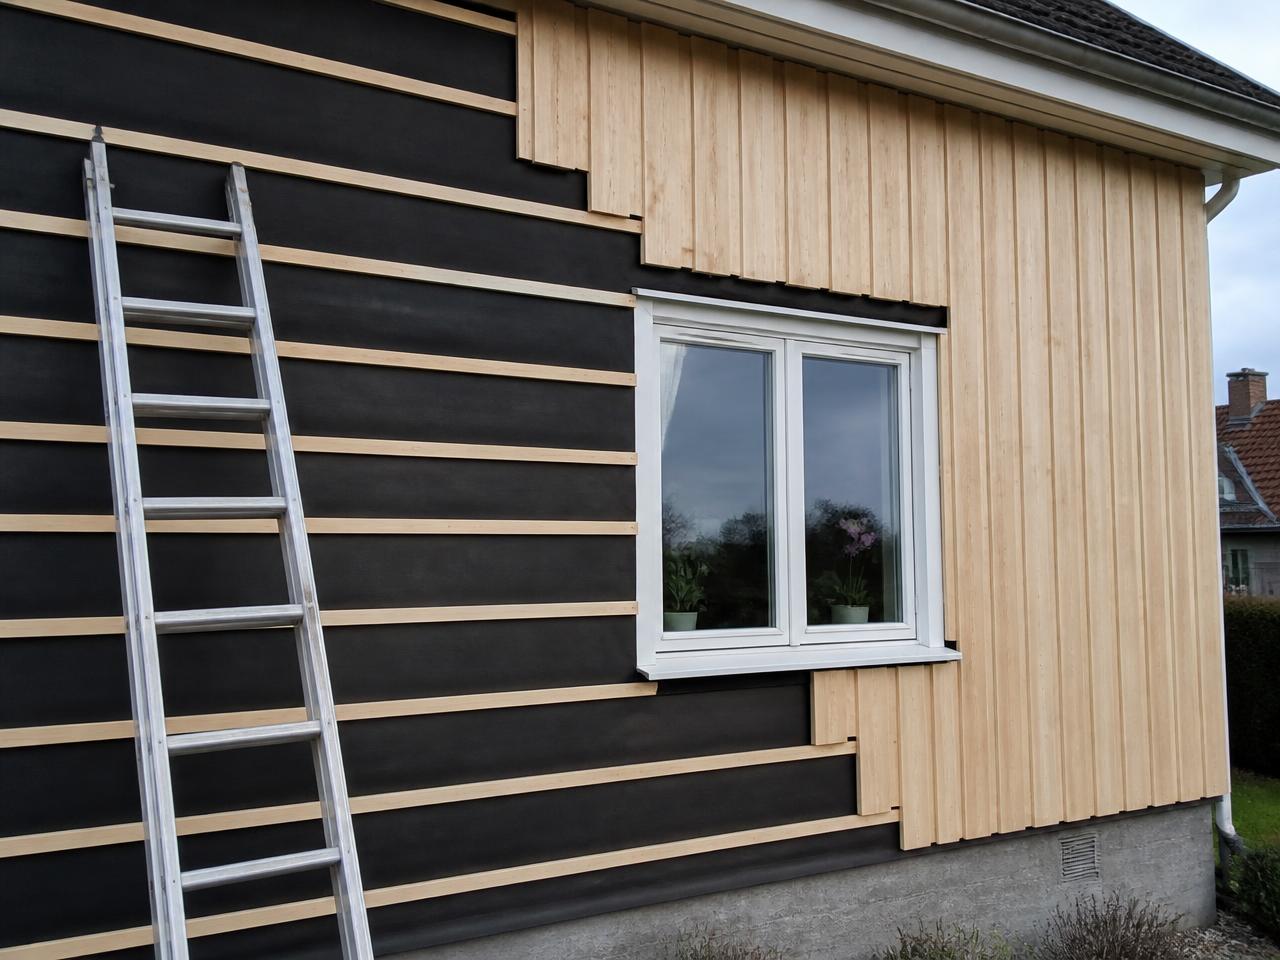
Which method suits you best?
Best for: An old, worn-out facade where you want to do it properly all the way to the frame.
Please note: Material quantities, prices and building methods are guidelines. Always check current prices, local regulations and product instructions before starting a project.
How facade cladding comes together
You replace facade cladding when the paint flakes off, when the boards have gone grey and split, or when you find soft, rotten timber down by the ground and around the windows. It's also your chance to get everything right behind the cladding: a new wind membrane, a proper ventilation gap and sound battens. Vertical board-on-board cladding is simple in principle — wide base boards are fixed to the battens with a few centimetres between them, and narrower cover boards are screwed or nailed over the joints. The movement in the timber is absorbed in the gap, water runs straight down the vertical boards and air can travel freely behind the cladding. Here we walk through the whole job, from stripping the old cladding to end-grain priming, undercoat and final topcoat.
Materials for facade cladding — full list
Check items off while you shop — the list stays with you on the page.
Replace facade cladding step by step
- 01
Plan, measure and check the conditions
Measure the facade area (height × width minus windows and doors) and work out the material per side. Find out whether the house has conservation requirements or a local plan that controls colour and cladding type — contact your local building authority if you're unsure. Photograph the facade before you start so you can easily recreate trim, corner boards and flashing details.
Pro tip:Before you start removing the cladding, do a quick check of the timber's condition. Use a screwdriver or knife and gently press the tip into the cladding board, especially at the bottom where the panel is most exposed to moisture. If the tool goes into the wood easily or the wood feels soft and crumbles, it may be a sign of rot and the board should be replaced.
Note: This is a quick check that can indicate the condition of the cladding. If you suspect extensive rot, the underlying structure, ventilation gap, battens and wind membrane should also be checked before the new cladding is fitted.
Tip: Do one facade side at a time. That way the house is never exposed for more than a few days and you have time to cover up before rain. - 02
Strip the old cladding carefully
Start at the top and work down. Remove trim, corner boards and flashings first and label them if you plan to reuse them. Lever the cladding off against a block of wood so you don't damage the framing, and pull out any remaining nails straight away so nobody steps on them. Sort the timber — rotten wood goes to recycling.
Tip: Have a tarpaulin and a skip or bulk bag ready from the start. Stripped cladding takes up more space than you'd think. - 03
Check the framing, sill plate and rot
With the cladding off you see the truth. Probe the studs, the sill plate and the window corners with an awl — soft timber means rot. Replace all damaged studs and sill sections before you go on, and look for dark moisture streaks that show where water got in. Check that window sill flashings slope outwards and that no water is being led into the wall.
Tip: If there's extensive rot in the sill plate or load-bearing framing, get a builder or structural engineer in before you close the wall up. - 04
Fit a new wind membrane
Staple up the wind membrane or fit wind boards over the whole frame. Work from the bottom up with at least 10 cm overlap so water is always led outwards, and tape the joints. Fold the membrane into the window and door reveals and seal it against the frames.
Tip: The wind membrane must shed water but stay vapour-permeable — never use plastic sheeting on the outside. - 05
Fix the battens and create the ventilation gap
Fit vertical battens in line with the studs first, normally at 600 mm centres. For vertical board-on-board you need cross battens: horizontal battens at 600 mm centres on top of the vertical ones — those are what the cladding is nailed to. The dimension is up to you, e.g. 22 × 45, 25 × 45 or 34 × 45 mm, as long as you get at least a 22–25 mm ventilation gap behind the cladding. The battens don't need to be pressure-treated; untreated spruce works fine behind a ventilated facade. Use a long level to check that every batten sits in the same plane.
Tip: Fit insect mesh at the bottom of the gap. The gap must be open both at the bottom and up at the roof, or the facade will never dry out. - 06
Prime all end grain and undercoat
Cut the boards to length and dip or brush every cut end in end-grain primer — end grain absorbs water 10–20 times faster than the face, and that's where rot almost always starts. Then prime bare cladding all round, including the back, before fitting. Factory-primed cladding only needs the end-grain treatment.
Tip: Keep a tin of primer and a brush at the saw horse. Then it actually gets done at every cut, rather than 'later'. - 07
Fit the base boards
Start in a corner with a plumbed string line. Get the first base board perfectly vertical — the whole facade follows it. Nail or screw once per batten, in the middle of the board, so the timber can move. Leave 20–40 mm between the base boards depending on the width of the cover board, and keep at least 20–30 cm of clear distance between the bottom of the cladding and the ground.
Tip: Cut a spacer block to the width of the gap and use it all the way — far faster and more even than measuring every time. - 08
Fit the cover boards over the joints
Centre the cover board over the gap so it overlaps each base board by at least 20 mm. Nail through the middle of the cover board, into the gap between the base boards — never through two boards at once, or the cladding will split as the timber moves. Check plumb every fifth board.
Tip: The bottom edge of the base board should sit slightly below the cover board so water drips off clear of the wall. - 09
Deal with windows, doors, corners and flashing
Fit trim around windows and doors so the cladding stops against the trim, not the other way round. Fit window sill flashings with at least 14 degrees of outward slope and a drip edge in front of the cladding. Corner boards cover the corners and protect the end grain. Use a flexible sealant between metal and timber — but never seal the ventilation gap at the bottom.
Tip: Flashing always goes on the outside of the cladding below it, never behind it. Water must be able to run out, not get trapped. - 10
Prime and apply two finished coats
Paint when the timber is dry (below 16 % moisture content), in the shade and at 10–25 degrees. Prime all bare surfaces, let them dry as the tin says, then apply two finished coats of opaque paint or Falu red paint. Be extra thorough in the gaps, on the edges of the cover boards and on all end grain.
Tip: Never paint in direct sun — the paint skins over too quickly and lets go after a couple of years. - 11
Final check and tidy up
Walk the whole side: is the ventilation gap open at the bottom and up at the roof, is the insect mesh in place, do all flashings slope outwards, is every end-grain surface painted, and is the distance to the ground at least 20–30 cm? Clear away nails, refit downpipes and lights, and take a photo of the finished result.
Help specific to replace facade cladding – board-on-board
How the time breaks down
Allow 3–6 weekends per facade side on an average house. Stripping and checking the frame goes quickly, while battens, cladding and three rounds of painting take most of the time.
- Planning, measuring & buying1 day (6–8 h)
- Scaffolding up and down3–5 h per side
- Stripping the old claddingWeekend 1 (6–10 h)
- Checking & replacing rotten timber3–8 h depending on damage
- Wind membrane + battensWeekend 2 (8–10 h)
- Fitting base and cover boardsWeekend 3–4 (14–20 h)
- Trim, corner boards & flashingWeekend 5 (6–8 h)
- Priming + two finished coatsWeekend 5–6 (12–16 h + drying)
How to save time
- Prime the cladding lying on trestles before fitting — twice as fast as doing it up on the scaffolding.
- Take one facade side at a time so the house is never exposed through a long spell of rain.
- Hire a mobile tower instead of using a ladder — you save hours and work far more safely.
- Order all the timber at once and let it acclimatise under a tarpaulin for a week before fitting.
Questions and answers about replace facade cladding – board-on-board
How do you replace facade cladding?
You replace facade cladding when the paint flakes off, when the boards have gone grey and split, or when you find soft, rotten timber down by the ground and around the windows. It's also your chance to get everything right behind the cladding: a new wind membrane, a proper ventilation gap and sound battens. Vertical board-on-board cladding is simple in principle — wide base boards are fixed to the battens with a few centimetres between them, and narrower cover boards are screwed or nailed over the joints. The movement in the timber is absorbed in the gap, water runs straight down the vertical boards and air can travel freely behind the cladding. Here we walk through the whole job, from stripping the old cladding to end-grain priming, undercoat and final topcoat. The guide breaks the work into 11 steps — you start with plan, measure and check the conditions, strip the old cladding carefully and check the framing, sill plate and rot and work your way forward at your own pace.
How much does it cost to replace facade cladding?
Material cost is typically 30,000–80,000 kr. Material costs normally land at 30,000–80,000 kr for an average house (around 120–160 m² of facade). Cladding, battens and paint make up most of it — scaffolding hire and flashing details come on top. The biggest items are board-on-board base and cover boards (~140 m²) 14,000–35,000 kr, untreated battens, any dimension (~180 linear metres) 1,500–3,500 kr and wind membrane membrane or boards 2,000–8,000 kr. The price varies with size, material choice, location and store.
What materials do you need for facade cladding?
You'll need things like base board 22 × 145 mm pine, cover board 22 × 95 mm pine, untreated spruce battens, e.g. 22 × 45, 25 × 45 or 34 × 45 mm, wind membrane or wind board and wind membrane tape — the full material list with quantities is in the guide and can be checked off while you shop. Tools you'll need at home: crowbar & nail puller, circular saw or mitre saw, jigsaw and drill & screwdriver.
How long does it take and how hard is it?
Count on 3–6 weekends per facade side for facade cladding. Allow 3–6 weekends per facade side on an average house. Stripping and checking the frame goes quickly, while battens, cladding and three rounds of painting take most of the time. The difficulty level is challenging, so you can manage it without professional experience if you follow the steps in order.
Which method should I choose for facade cladding?
There are 3 common ways to build it: full cladding replacement with new wind membrane and battens, new board-on-board cladding on existing battens and partial replacement of damaged boards. Choose a method at the top of the page — the guide, material list and cost then adapt to that solution. We recommend full cladding replacement with new wind membrane and battens for most homes.
What's the most common mistake?
The mistakes we see most often: nailing the cover board through two base boards — the cladding splits as the timber moves, closing off or sealing the ventilation gap at the bottom so the facade never dries out and fitting the cladding too close to the ground — below 20 cm the boards wick up ground moisture and rot from below. Read through the whole guide once before you start — that way you'll avoid most of them.
And that's it, done.
Take a step back, pour a cup of coffee and enjoy. You built it yourself.
Next project: Build a deckDid this guide help you?
Your opinion helps us improve our content.
Built something you're proud of?
Send us photos of your finished project — we pick out and publish them as inspiration for others who want to replace facade cladding – board-on-board.
Related outdoor projects
If you're planning to replace facade cladding – board-on-board, one of these projects is often a great fit to do at the same time.
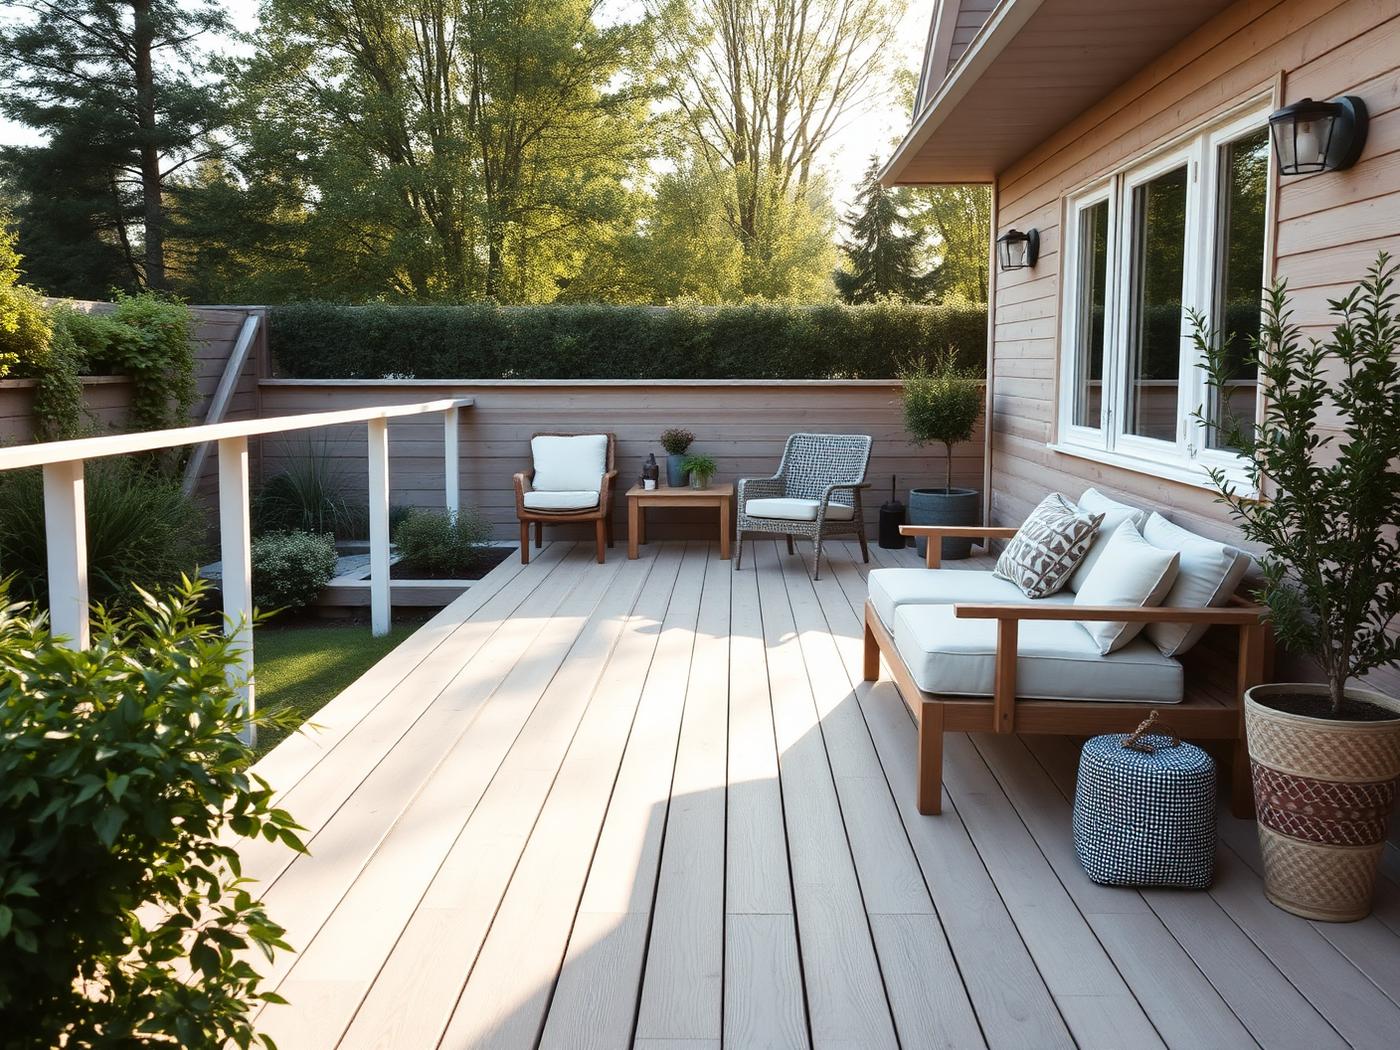
Build a deck
A classic timber deck built over six weekends — a place to breathe out.
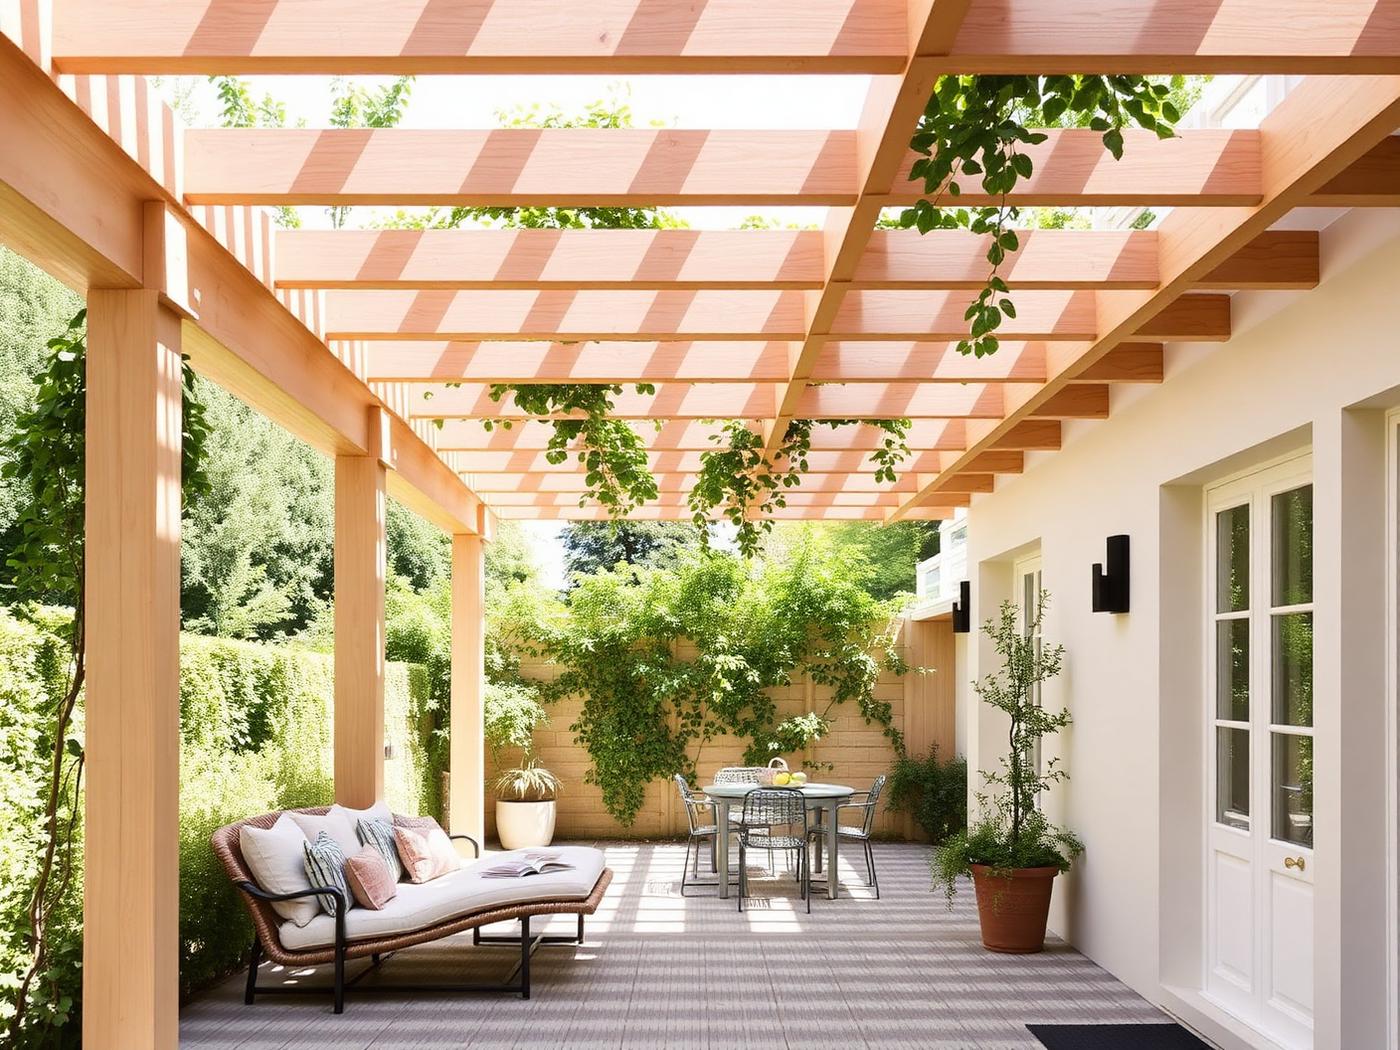
Build a pergola
Create an outdoor room with an airy pergola in light-coloured wood.
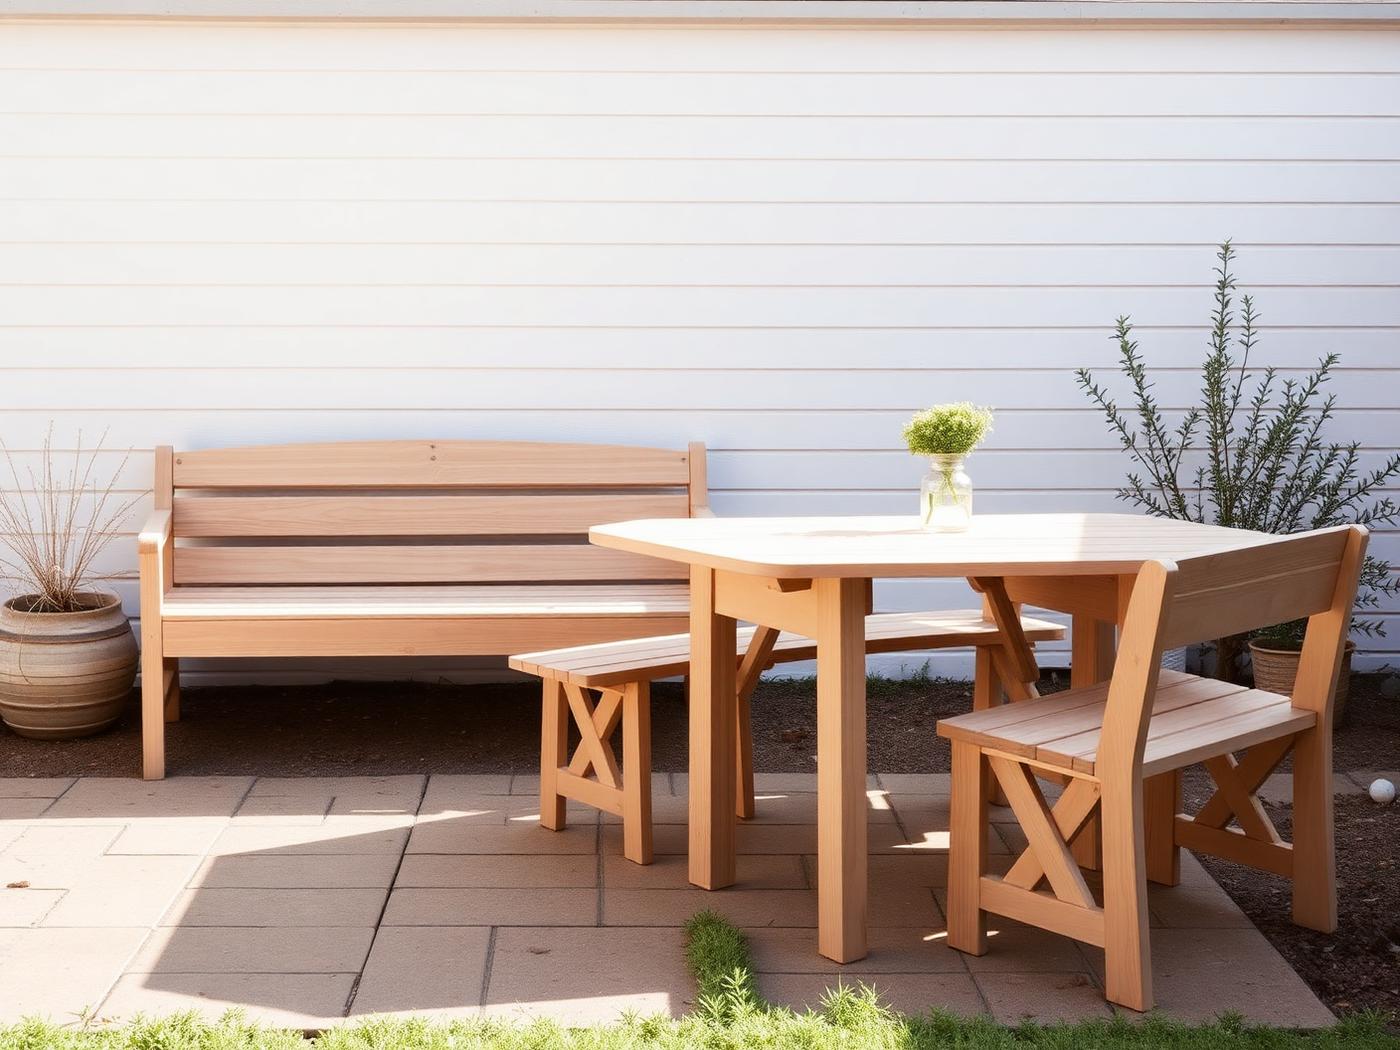
Build outdoor furniture
A sturdy garden bench that lasts for decades.