Build a decked path — step by step
A beautiful wooden path that leads through the garden — dry underfoot even after rain.
This is a complete guide to build a decking walkway yourself — step by step, with a material list, tools, a timeline and what it costs. It's written for anyone building at home without professional experience: count on 1–2 weekends and a material cost of around 3,000–8,000 kr.
Showing method: Straight decked path on joists
The price is an estimate based on typical material prices and can vary depending on size, material choice, location and store.
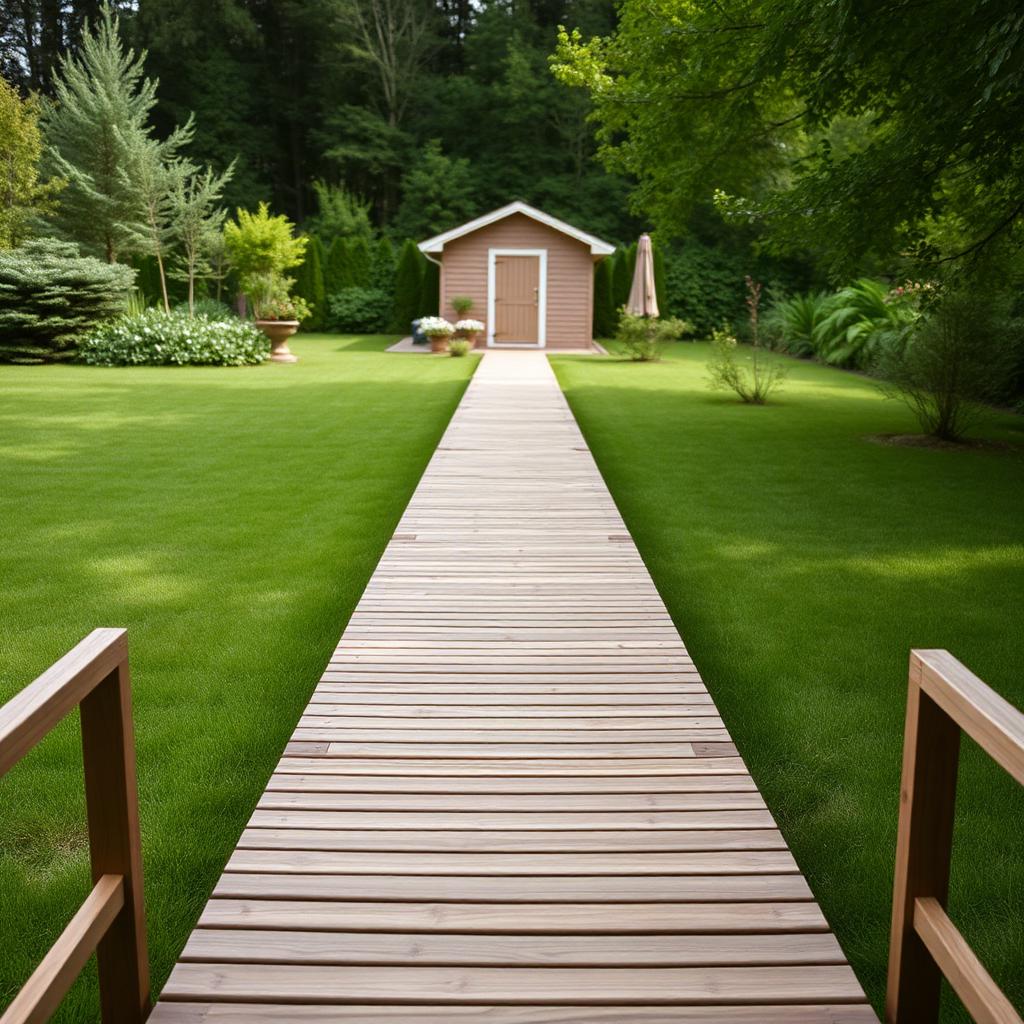
Which method suits you best?
Best for: The most common solution — between a deck and a kitchen garden, or from the gate to the front door.
Please note: Material quantities, prices and building methods are guidelines. Always check current prices, local regulations and product instructions before starting a project.
How a decking walkway comes together
A decked path is one of the most rewarding outdoor projects: quick to build, cheap, and it turns a muddy track into a smart walkway. We build a path about 8 metres × 80 cm — perfect between a deck and a kitchen garden, or from the gate to the front door. No deep holes, no concrete.
Materials for a decking walkway — full list
Check items off while you shop — the list stays with you on the page.
Build a decking walkway step by step
- 01
Mark out the path
Run two string lines along the whole route so the width stays even. A typical decked path is 60–90 cm wide — wide enough to walk comfortably, narrow enough not to take over the garden.
Tip: Lay the decking boards out loosely along the route first — it's easier to see if the width feels right. - 02
Prepare the ground
Strip off the turf (5–10 cm) across the full width. Fill with crushed stone or gravel and lightly compact with a board. The base should slope very slightly outward so water drains away.
- 03
Lay out landscape fabric
Roll landscape fabric out over the whole base. It keeps weeds down and stops the gravel mixing with soil.
- 04
Position the base joists
Lay joists (45 × 70 mm) across the path at about 50 cm intervals. Ideally place a paving stone under each joist — that lifts the joists off damp ground and doubles their lifespan.
Tip: Check with a spirit level that all the joists sit at the same height — otherwise the decking will rock. - 05
Screw down the decking
Lay the decking boards across the joists. Screw with two stainless screws at every crossing point. Leave a 4–5 mm gap between the boards — a nail works perfectly as a spacer.
Tip: Always pre-drill near the end of a board so the timber doesn't split. - 06
Cut the edges straight
Snap a chalk line along one outer edge and cut it straight with the circular saw. Repeat on the other side. This gives the whole path a crisp, clean line.
- 07
Oil the timber
Wait until the decking is dry and apply pigmented wood oil. It slows down greying and protects against moisture. Top up every spring.
Help specific to build a decked path
How the time breaks down
A decked path of about 8 × 0.8 m is built in 1–2 weekends. Preparing the ground takes the longest — the screwing itself goes quickly.
- Marking out & planning1 hour
- Stripping turf & laying the base3–5 hours
- Landscape fabric & levelling joists2–3 hours
- Laying & screwing the decking3–4 hours
- Cutting edges straight1 hour
- Oiling (two coats)1 hour + drying time
How to save time
- Buy decking in lengths that match the path's width — that way you barely need to cut anything.
- A decking screw sleeve halves the fixing time and gives an even gap.
- Work in pairs when levelling the joists — one holds the spirit level, one adjusts.
Questions and answers about build a decked path
How do you build a decking walkway?
A decked path is one of the most rewarding outdoor projects: quick to build, cheap, and it turns a muddy track into a smart walkway. We build a path about 8 metres × 80 cm — perfect between a deck and a kitchen garden, or from the gate to the front door. No deep holes, no concrete. The guide breaks the work into 7 steps — you start with mark out the path, prepare the ground and lay out landscape fabric and work your way forward at your own pace.
How much does it cost to build a decking walkway?
Material cost is typically 3,000–8,000 kr. Total cost 3,000–8,000 kr for a path of about 7 m². The decking accounts for roughly half the budget. The biggest items are decking 28×120 mm pine (~7 m² + wastage) 1,400–2,800 kr, joists 45×70 mm pressure-treated (~25 m) 700–1,200 kr and decking screw a4 stainless (1 box of 500) 400–700 kr. The price varies with size, material choice, location and store.
What materials do you need for a decking walkway?
You'll need things like joists 45 × 70 mm pressure-treated, decking 28 × 120 mm pine, decking screw a4 stainless 4.2 × 55 mm, landscape fabric and gravel 8–16 mm or crushed stone — the full material list with quantities is in the guide and can be checked off while you shop. Tools you'll need at home: circular saw or handsaw, drill & batteries, spirit level and folding rule & chalk.
How long does it take and how hard is it?
Count on 1–2 weekends for a decking walkway. A decked path of about 8 × 0.8 m is built in 1–2 weekends. Preparing the ground takes the longest — the screwing itself goes quickly. The difficulty level is easy, so you can manage it without professional experience if you follow the steps in order.
Which method should I choose for a decking walkway?
There are 3 common ways to build it: straight decked path on joists, loose deck modules in sections and winding path through the flower beds. Choose a method at the top of the page — the guide, material list and cost then adapt to that solution.
What's the most common mistake?
The mistakes we see most often: laying the joists directly on the soil — they rot within a few years without air underneath, too few base joists — the decking flexes and feels unstable to walk on and forgetting to slope the path outward — water pools on it and the timber goes mouldy. Read through the whole guide once before you start — that way you'll avoid most of them.
And that's it, done.
Take a step back, pour a cup of coffee and enjoy. You built it yourself.
Next project: Build firewood storageDid this guide help you?
Your opinion helps us improve our content.
Built something you're proud of?
Send us photos of your finished project — we pick out and publish them as inspiration for others who want to build a decked path.
Related outdoor projects
If you're planning to build a decked path, one of these projects is often a great fit to do at the same time.
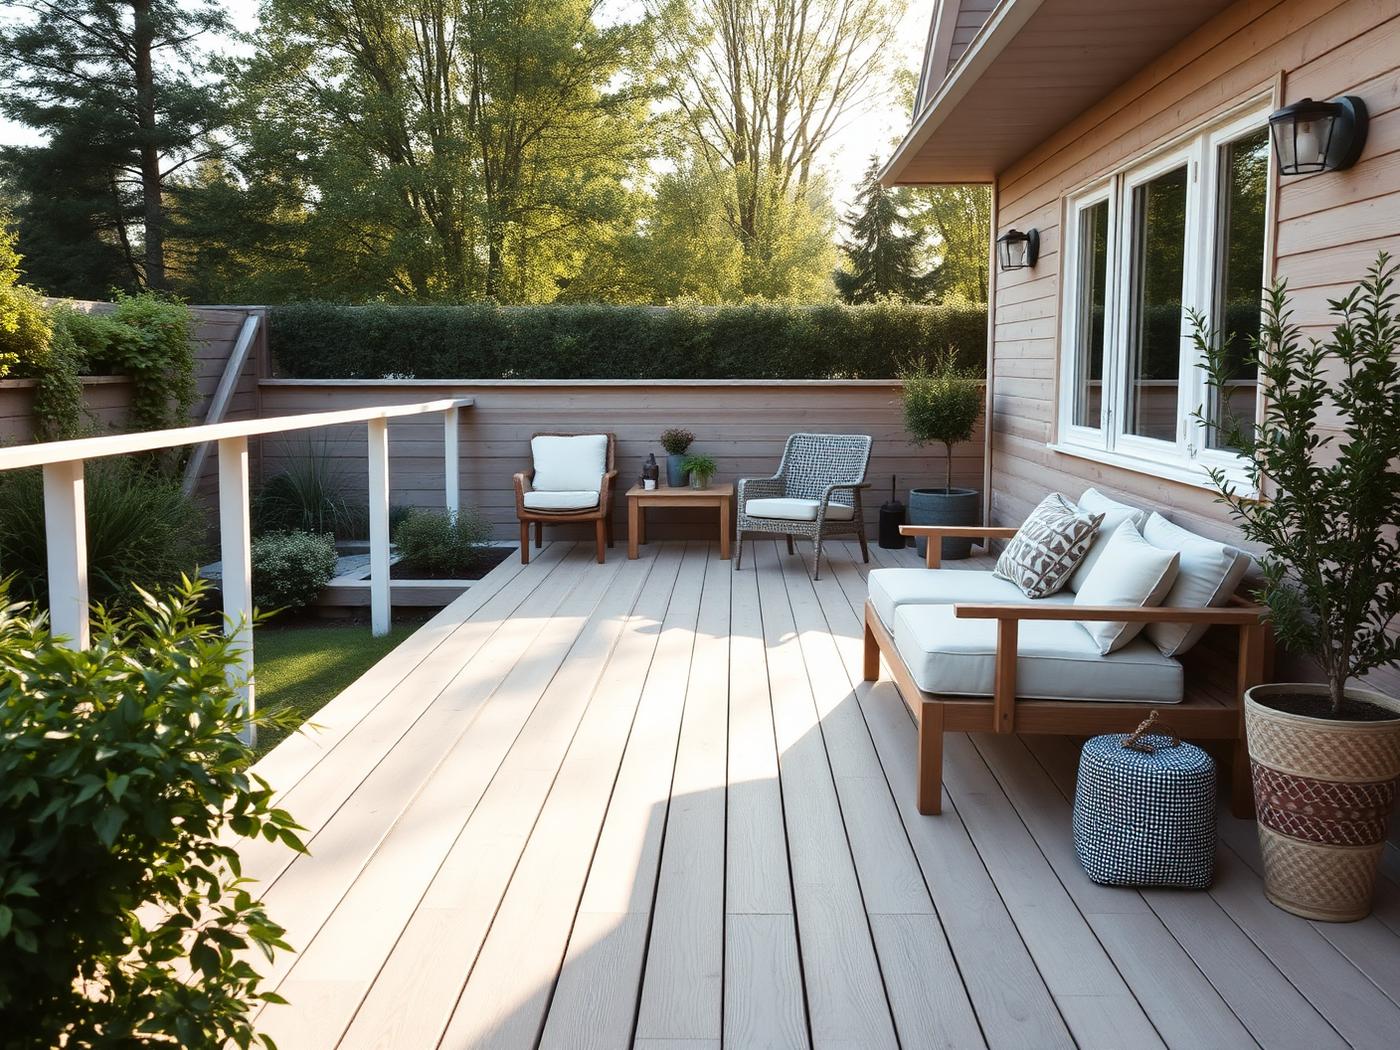
Build a deck
A classic timber deck built over six weekends — a place to breathe out.
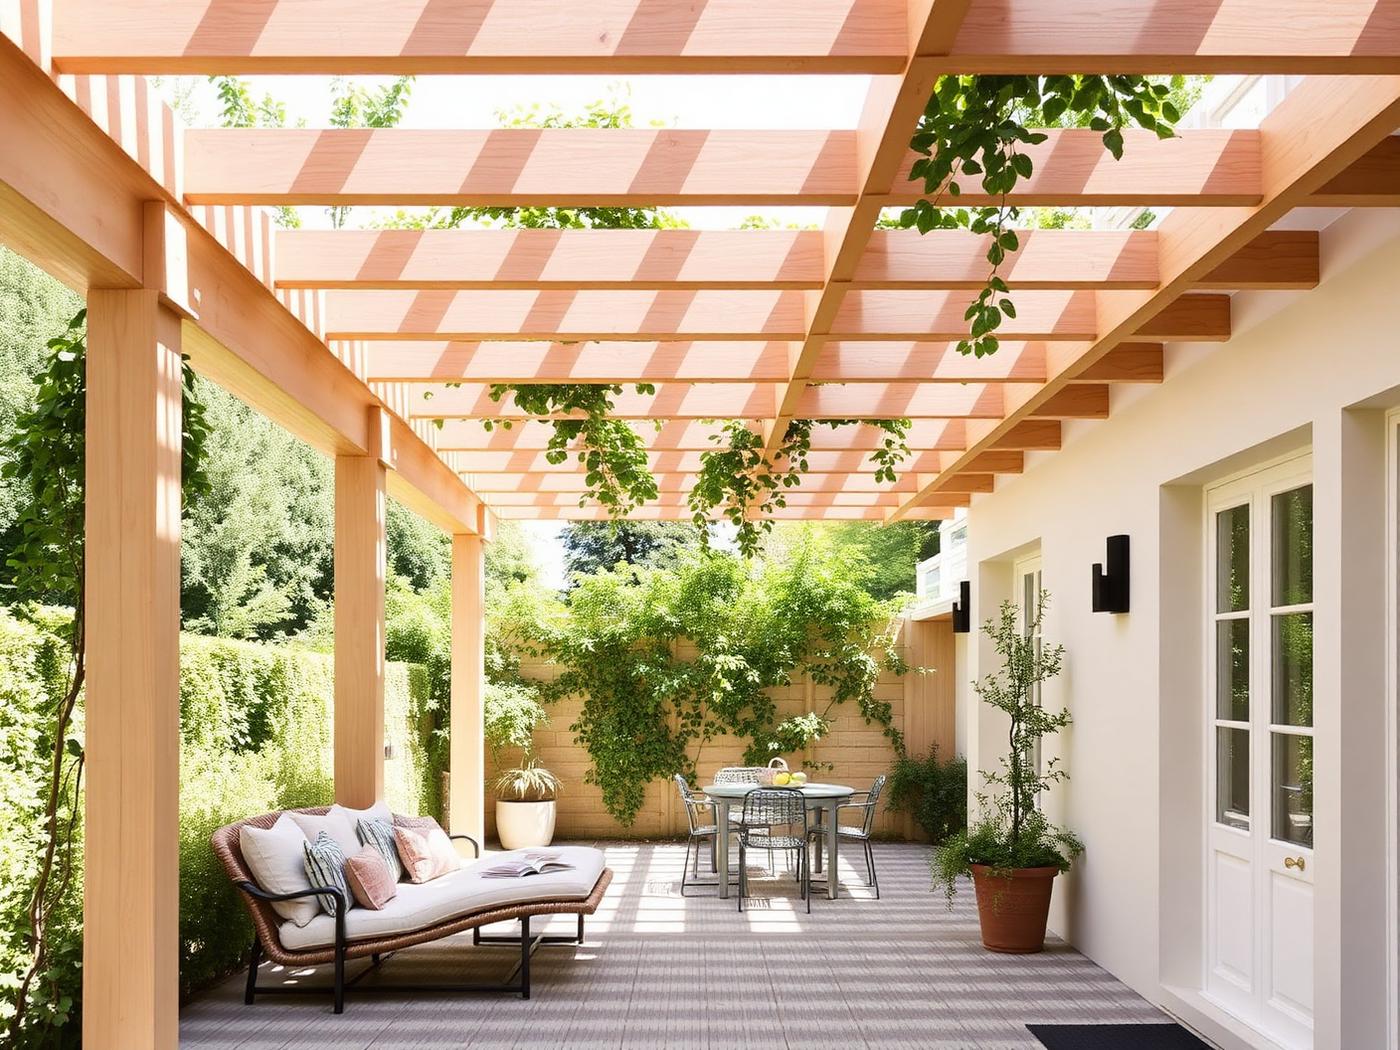
Build a pergola
Create an outdoor room with an airy pergola in light-coloured wood.
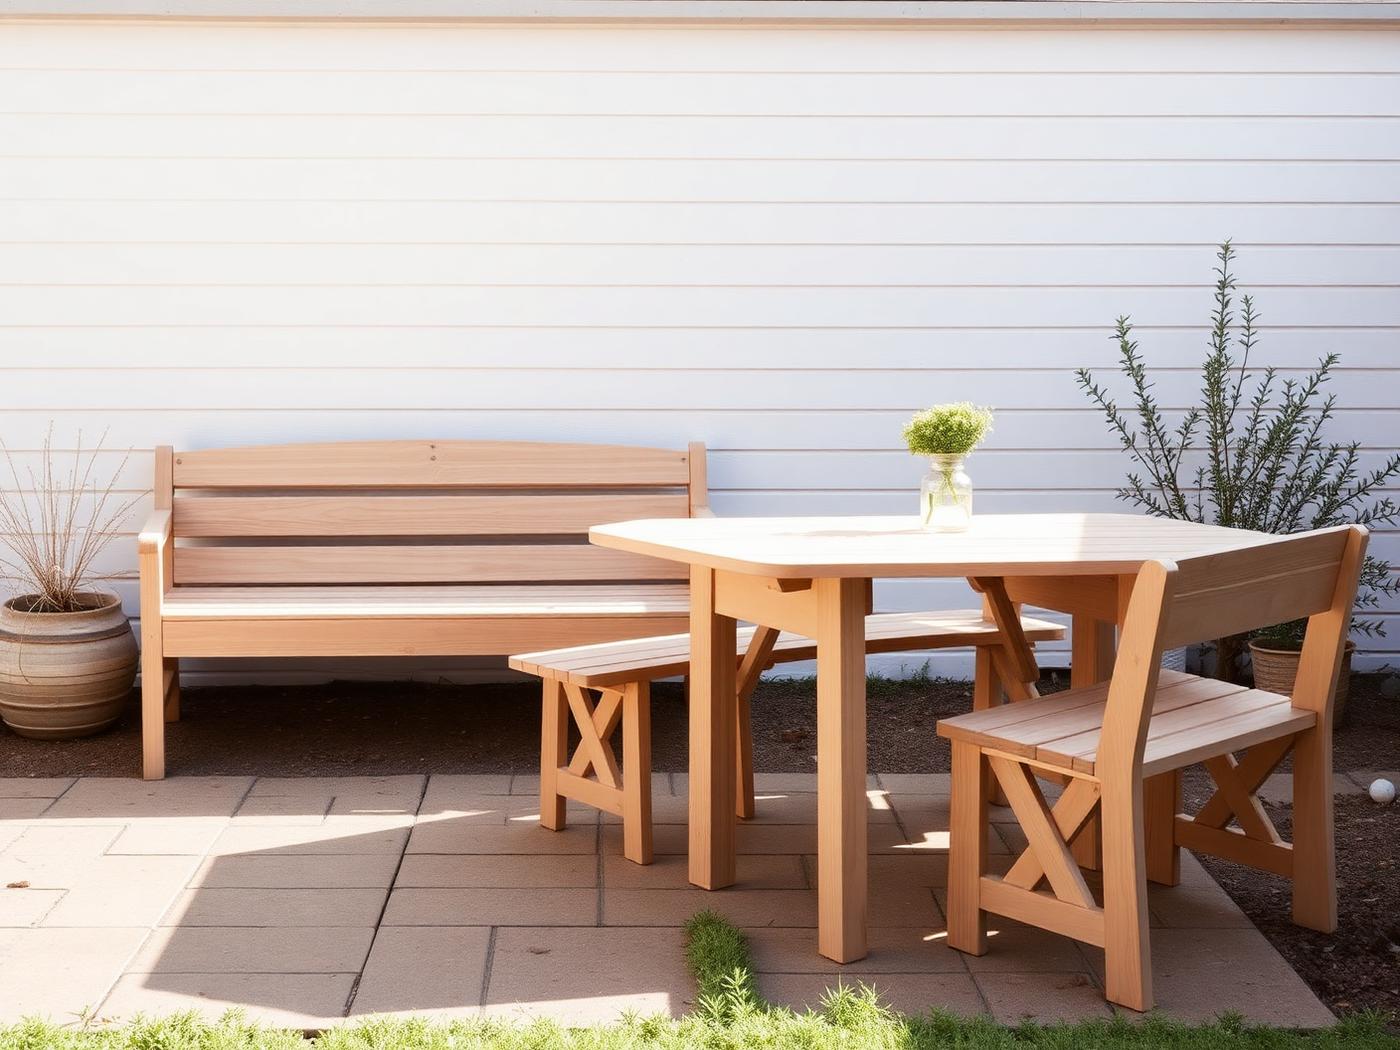
Build outdoor furniture
A sturdy garden bench that lasts for decades.