Build an outdoor kitchen — step by step
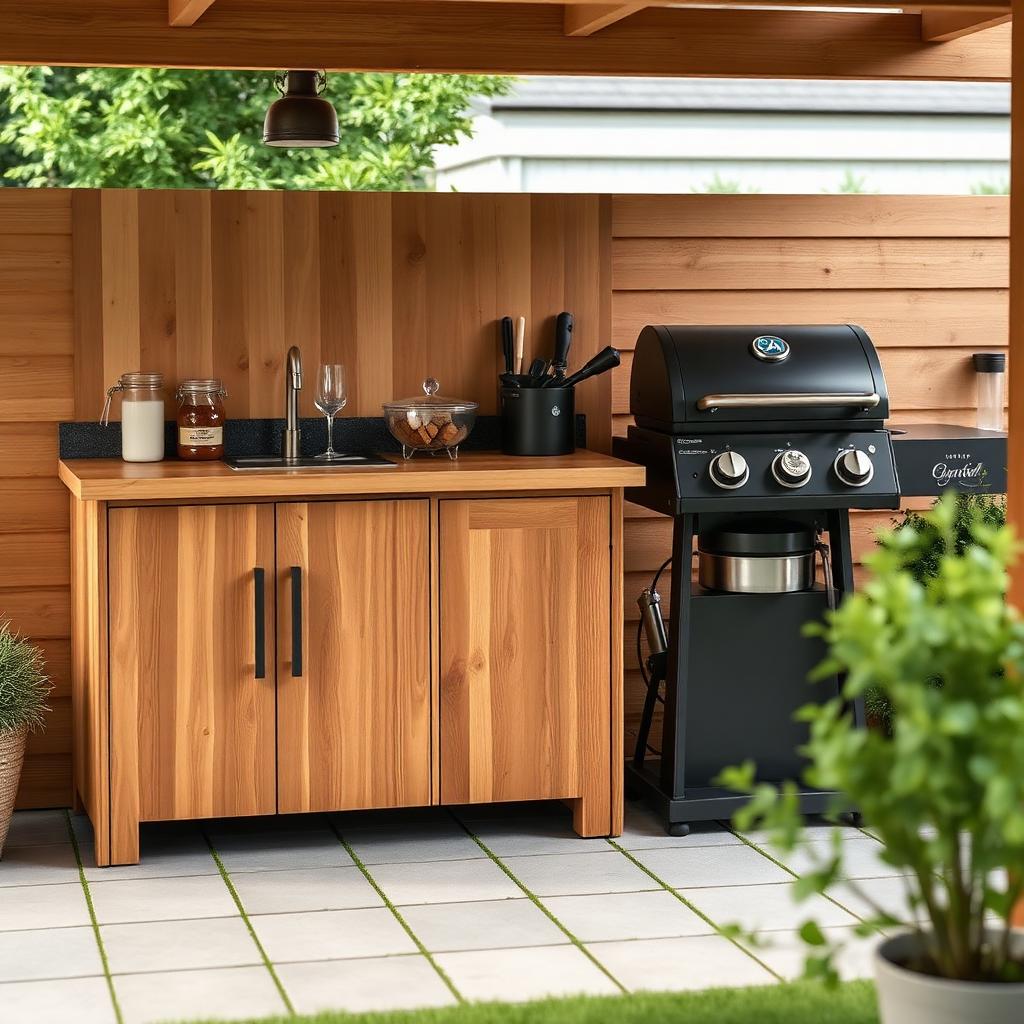
Extend the grilling season — a simple outdoor kitchen in wood with room for a grill and worktop.
This is a complete guide to build an outdoor kitchen yourself — step by step, with a material list, tools, a timeline and what it costs. It's written for anyone building at home without professional experience: count on 2–3 weekends and a material cost of around 8,000–25,000 kr.
Showing method: Simple module with a free-standing grill
The price is an estimate based on typical material prices and can vary depending on size, material choice, location and store.
Which method suits you best?
Best for: Anyone who wants to get going quickly and already has a good grill.
Please note: Material quantities, prices and building methods are guidelines. Always check current prices, local regulations and product instructions before starting a project.
How an outdoor kitchen comes together
An outdoor kitchen makes barbecue evenings much more pleasant — no more running in and out, everything is close at hand. Here we build a simple module in pressure-treated wood with room for a free-standing grill, a worktop and storage below. Dimensions can be adapted to your grill.
Materials for an outdoor kitchen — full list
Check items off while you shop — the list stays with you on the page.
Build an outdoor kitchen step by step
- 01
Measure the grill and plan the module
Measure the width, depth and height of your grill. Add 5 cm of clearance all round for safety margin. Standard worktop height is usually 90 cm.
Tip: Sketch a simple plan on graph paper — it's worth 30 minutes and saves hours later. - 02
Build the frame
Screw together a rectangular frame of 45×95 mm studs. Add vertical posts at the corners and between them where the grill will stand. Add a joisted base for storage.
- 03
Set the frame on feet or piers
Adjustable feet work well on hard ground (stone, concrete). On grass or gravel, use a few concrete piers or paving stones to raise the frame off the ground.
Tip: Don't leave it standing directly on grass — moisture wicks up into the timber. - 04
Clad the sides with panelling
Screw the cladding boards on vertically or horizontally on the outside. Vertical gives a clean look, horizontal is more cottage-style.
- 05
Fit the worktop
Lay the worktop on top of the frame and screw it in place from underneath. Cut out an opening with a jigsaw where the grill will sit if it's built in.
- 06
Oil or stain it
Apply two coats of wood oil or pigmented stain. This protects against moisture, grease and UV rays. Repeat every year.
Help specific to build an outdoor kitchen
How the time breaks down
An outdoor kitchen about 2 m wide is built over 2–3 weekends. The frame goes quickly; the cladding and worktop take the most time.
- Planning & buying materialsHalf a day
- Building the frame1 weekend (8 h)
- Cladding with panelsHalf a weekend (4–5 h)
- Fitting the worktop & adjusting3–4 h
- Oiling or staining (2 coats)2 h + drying time
How to save time
- Buy a prefabricated composite worktop — it lasts better than timber and needs no maintenance.
- Get all the timber cut at the builders' merchant if they offer it — saves a whole half-day.
- Build it modular — then you can add an extra cabinet or sink later.
Questions and answers about build an outdoor kitchen
How do you build an outdoor kitchen?
An outdoor kitchen makes barbecue evenings much more pleasant — no more running in and out, everything is close at hand. Here we build a simple module in pressure-treated wood with room for a free-standing grill, a worktop and storage below. Dimensions can be adapted to your grill. The guide breaks the work into 6 steps — you start with measure the grill and plan the module, build the frame and set the frame on feet or piers and work your way forward at your own pace.
How much does it cost to build an outdoor kitchen?
Material cost is typically 8,000–25,000 kr. Total cost 8,000–25,000 kr depending on the worktop and extras. The worktop is often the priciest item. The biggest items are studs 45×95 mm ntr (~25 m) 1,500–2,500 kr, cladding 22×120 mm pine (~30 m) 1,800–3,000 kr and worktop (composite or timber, ~200×60 cm) 2,500–10,000 kr. The price varies with size, material choice, location and store.
What materials do you need for an outdoor kitchen?
You'll need things like studs 45 × 95 mm pressure-treated, cladding boards 22 × 120 mm pine, worktop in composite or treated timber, decking screws a4 stainless 4.2 × 55 mm and angle brackets — the full material list with quantities is in the guide and can be checked off while you shop. Tools you'll need at home: power drill & batteries, mitre saw or circular saw, spirit level and tape measure & square.
How long does it take and how hard is it?
Count on 2–3 weekends for an outdoor kitchen. An outdoor kitchen about 2 m wide is built over 2–3 weekends. The frame goes quickly; the cladding and worktop take the most time. The difficulty level is challenging, so you can manage it without professional experience if you follow the steps in order.
Which method should I choose for an outdoor kitchen?
There are 3 common ways to build it: simple module with a free-standing grill, l-shaped kitchen with a built-in grill and outdoor kitchen with sink & water. Choose a method at the top of the page — the guide, material list and cost then adapt to that solution.
What's the most common mistake?
The mistakes we see most often: building it too small — you'll want room for a tray next to the grill, setting the frame directly on grass — the timber soaks up moisture and rots and forgetting a safety margin around the grill — at least 5 cm on every side. Read through the whole guide once before you start — that way you'll avoid most of them.
And that's it, done.
Take a step back, pour a cup of coffee and enjoy. You built it yourself.
Next project: Build a greenhouseDid this guide help you?
Your opinion helps us improve our content.
Built something you're proud of?
Send us photos of your finished project — we pick out and publish them as inspiration for others who want to build an outdoor kitchen.
Related outdoor projects
If you're planning to build an outdoor kitchen, one of these projects is often a great fit to do at the same time.
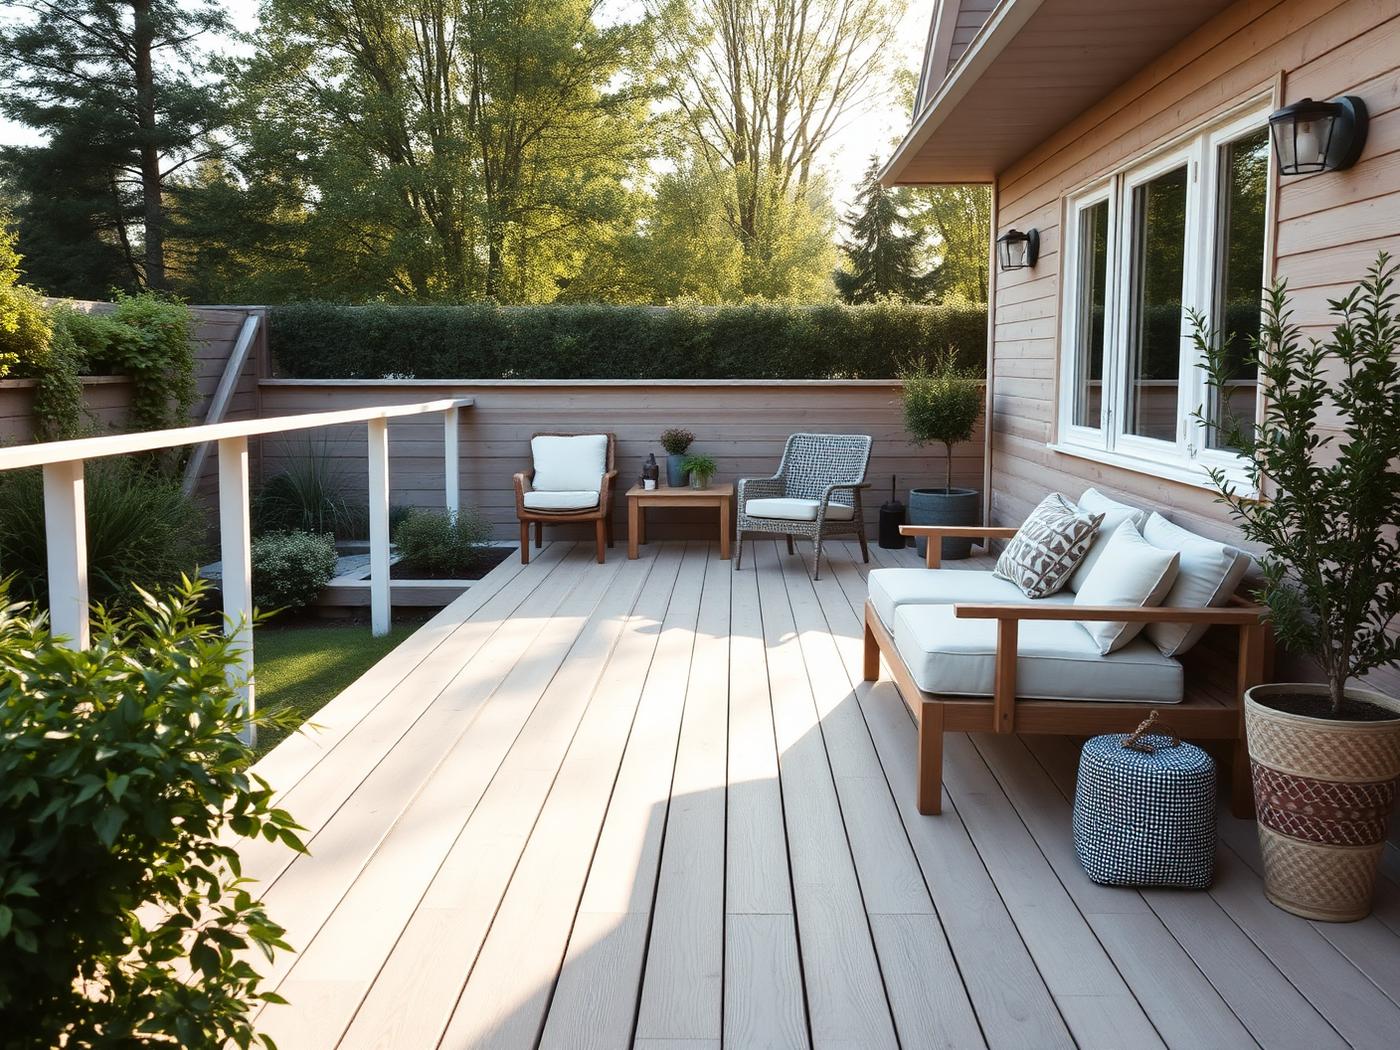
Build a deck
A classic timber deck built over six weekends — a place to breathe out.
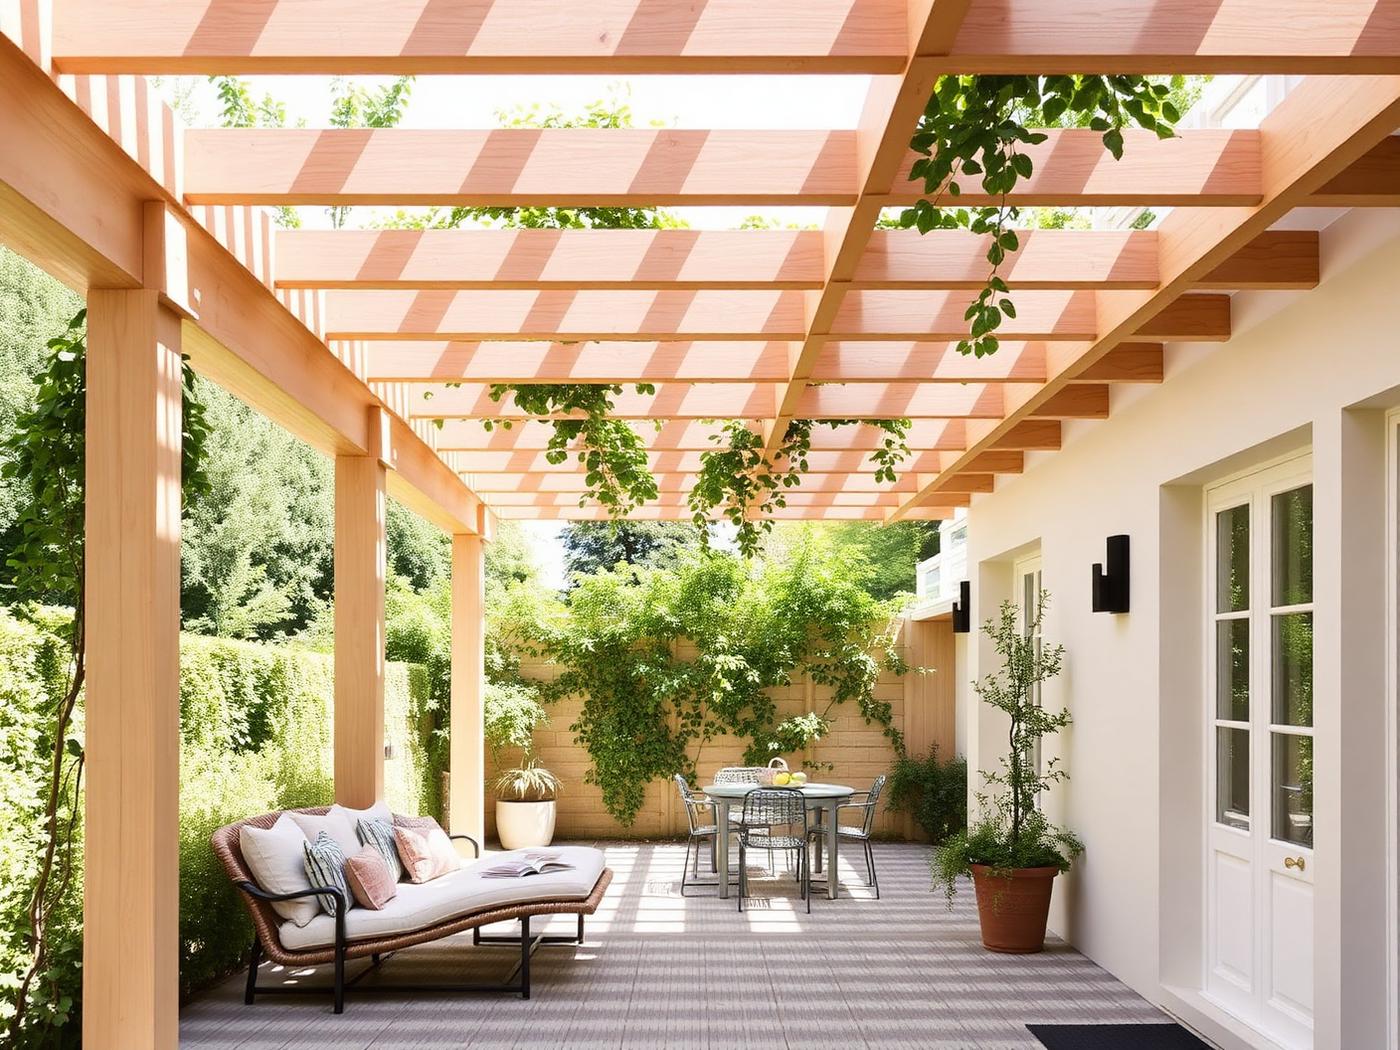
Build a pergola
Create an outdoor room with an airy pergola in light-coloured wood.
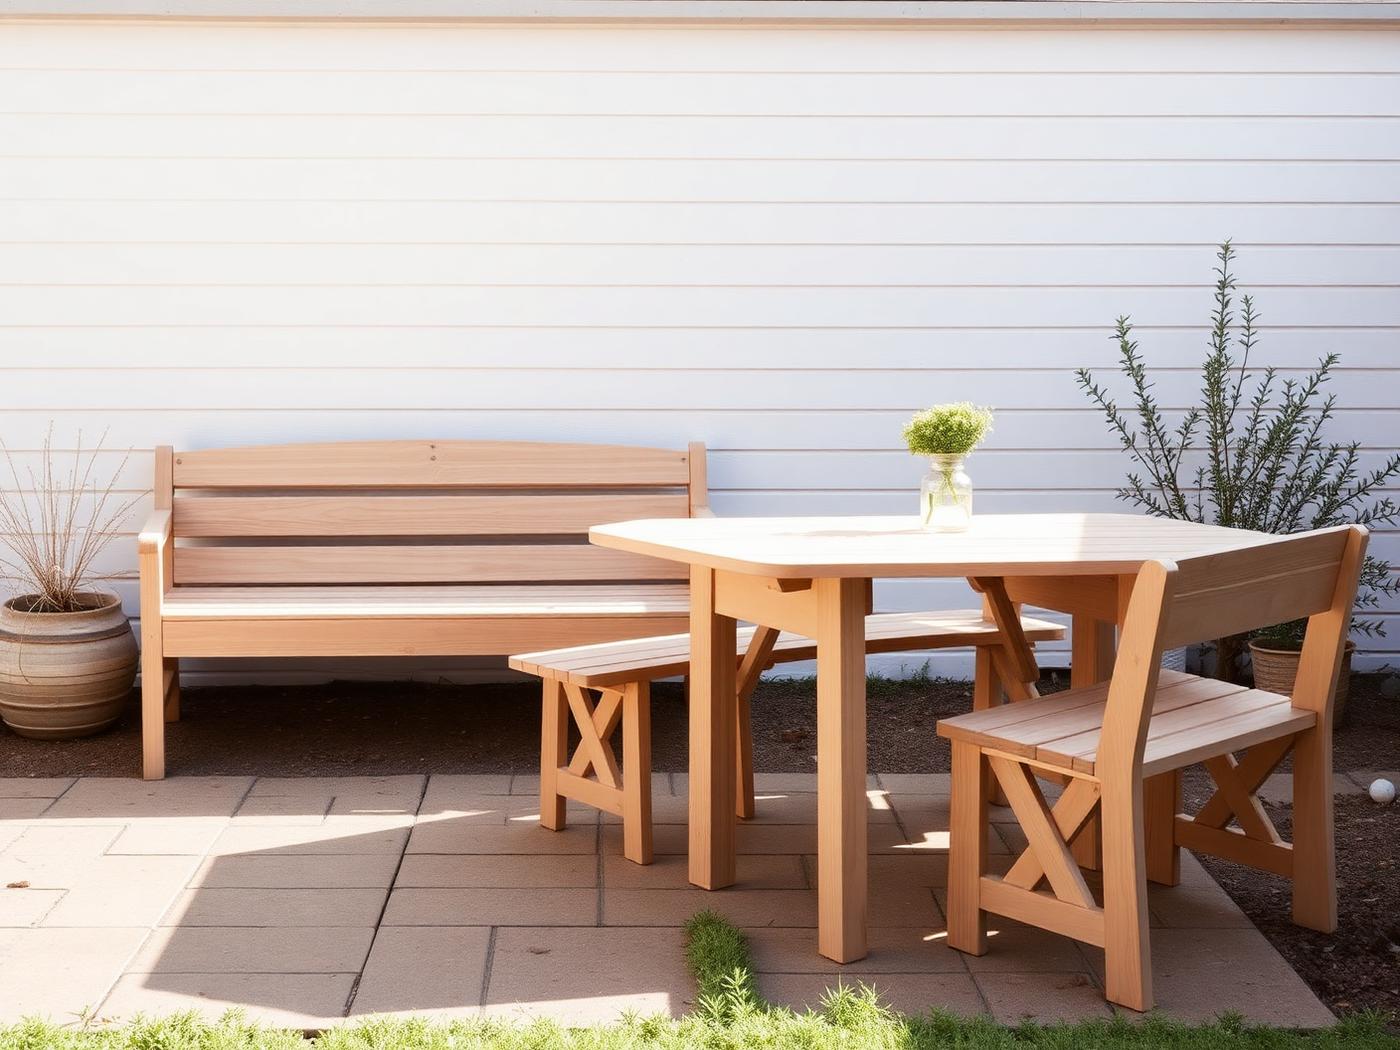
Build outdoor furniture
A sturdy garden bench that lasts for decades.