Replace door casing & trim — step by step
Freshen up a room by replacing the door casing and trim — it shows instantly.
This is a complete guide to replace door casing and architrave yourself — step by step, with a material list, tools, a timeline and what it costs. It's written for anyone building at home without professional experience: count on 3–6 hours per door and a material cost of around 800–2,500 kr per door.
Showing method: Trim only (keep the casing)
The price is an estimate based on typical material prices and can vary depending on size, material choice, location and store.
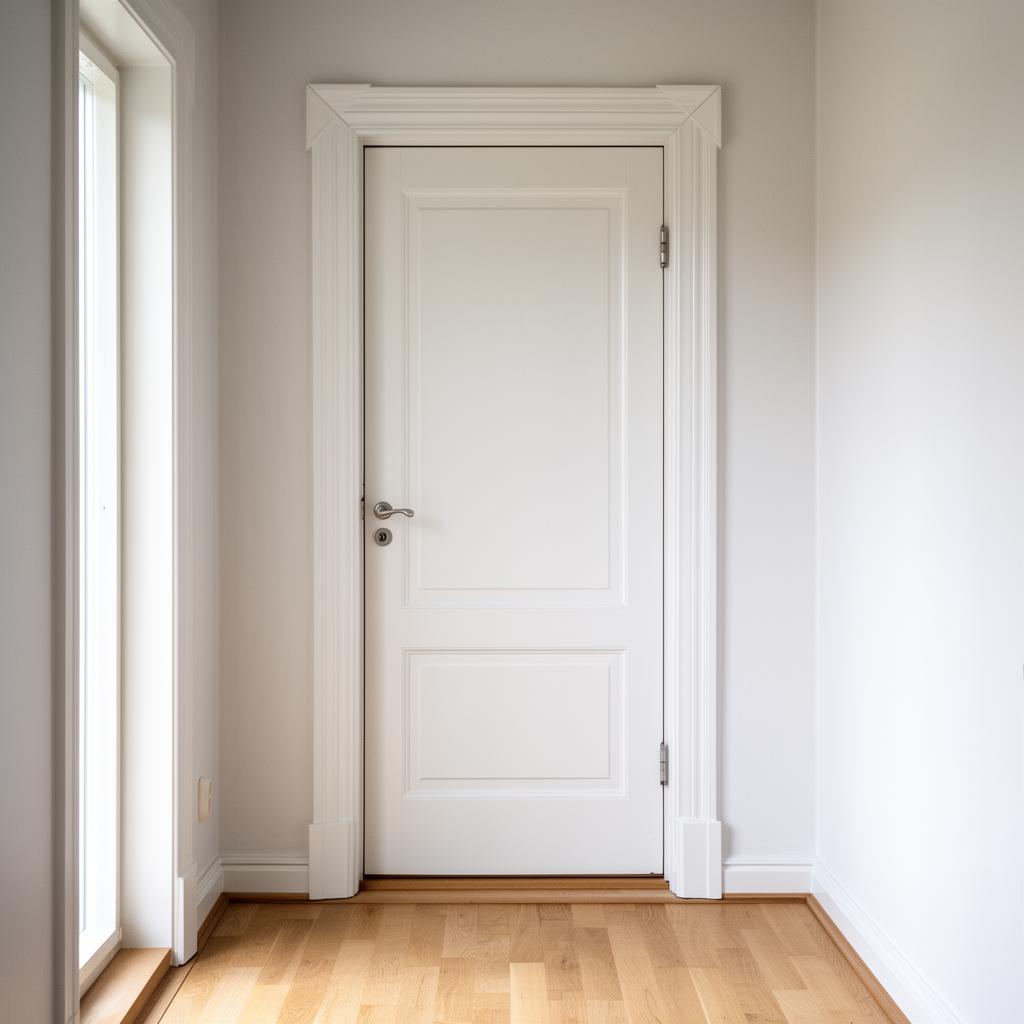
Which method suits you best?
Best for: The casing is intact and plumb, but the trim is worn, yellowed or damaged.
Please note: Material quantities, prices and building methods are guidelines. Always check current prices, local regulations and product instructions before starting a project.
How door casing and architrave comes together
Worn or discoloured casings and trim drag down the whole feel of a room. Replacing them is surprisingly doable in an afternoon — and the result transforms the doorway from tired to brand-new. We'll go through it step by step without demolishing more than necessary.
Materials for door casing and architrave — full list
Check items off while you shop — the list stays with you on the page.
Replace door casing and architrave step by step
- 01
Prise off the old trim
Put a putty knife or thin crowbar between the wall and the trim and prise it off carefully. Trim is usually only fixed with finish nails — it comes away easily if you pry straight outward without twisting.
Tip: Put a piece of wood between the crowbar and the wall — it prevents ugly marks in the plasterboard. - 02
Remove the old casing
Unscrew the frame screws (hidden behind the hinges or behind plastic plugs). Then pry the casing loose from the wall — it's often fixed with insulation or expanding foam around it.
- 03
Clear out the opening
Remove old insulation, foam and debris. Measure the opening's width and height — in at least three places. The wall is rarely perfectly straight, so use the smallest measurement.
- 04
Fit the new casing
Assemble the casing's sides and top piece as instructed (often click-fit or screw-together). Lift the casing into the opening and wedge it so it's completely plumb and level. Check the diagonal measurements — they should match.
Tip: Hang the door temporarily and check it closes properly in the lock before you screw the casing in permanently. - 05
Screw the casing in place
Drill and tighten the frame screws through the wedges (4 per side). Check plumb after each screw — it's easy for the casing to twist as the screws are tightened.
- 06
Spray expanding foam around the casing
Use LOW-EXPANSION foam — regular foam pushes the casing out of plumb. Fill the gap between casing and wall in thin layers. Let it cure as instructed (usually 1–2 hours) before trimming off the excess.
- 07
Cut and fit the trim
Measure and cut the trim with a 45° mitre at the corners (mitre saw). Nail it to the casing with finish nails, about 30 cm apart. The trim should sit evenly, set in slightly from the casing's inner edge (3–5 mm).
Tip: Cut the top piece of trim first and test it against the casing before cutting the corners — it's easier to adjust the lower pieces. - 08
Caulk and paint
Apply acrylic caulk into the gap between trim and wall and in the mitred joints. Smooth it with a damp finger. Once the caulk has dried — paint the trim (and casing if needed) in your chosen colour. Two thin coats give the best result.
Help specific to replace door casing & trim
How the time breaks down
Per door, allow 3–6 hours of active work plus drying time for foam and paint.
- Prise off old trim & casing30–60 min
- Clear & measure the opening15–30 min
- Fit new casing plumb & level45–90 min
- Foam around casing + curing time20 min + 1–2 h rest
- Cut & nail trim on both sides60–90 min
- Caulk & paint (two coats)45 min + overnight drying
How to save time
- Hire a nail gun for ~200 kr/day — the trim goes on in minutes instead of a whole hour.
- Buy pre-painted casing sets (~300 kr extra) — you avoid painting yourself and get a more even result.
- Do several doors the same day — you'll be twice as fast by door number two thanks to the routine.
Questions and answers about replace door casing & trim
How do you replace door casing and architrave?
Worn or discoloured casings and trim drag down the whole feel of a room. Replacing them is surprisingly doable in an afternoon — and the result transforms the doorway from tired to brand-new. We'll go through it step by step without demolishing more than necessary. The guide breaks the work into 8 steps — you start with prise off the old trim, remove the old casing and clear out the opening and work your way forward at your own pace.
How much does it cost to replace door casing and architrave?
Material cost is typically 800–2,500 kr per door. Total cost 800–2,500 kr per door depending on whether you replace the casing or just the trim, and which wood type you choose. The biggest items are white pine casing set (standard size) 500–1,200 kr, pine trim 12×56 mm (~12 m) 150–350 kr and frame screws (8 pcs) 50–100 kr. The price varies with size, material choice, location and store.
What materials do you need for door casing and architrave?
You'll need things like door casing set (matching door width), trim (usually 12×56 mm pine), frame screws 6 × 80 or 100 mm, wood wedges and finish nails 35–40 mm — the full material list with quantities is in the guide and can be checked off while you shop. Tools you'll need at home: crowbar/pry bar, hammer, mitre saw (45°) and spirit level.
How long does it take and how hard is it?
Count on 3–6 hours per door for door casing and architrave. Per door, allow 3–6 hours of active work plus drying time for foam and paint. The difficulty level is moderate, so you can manage it without professional experience if you follow the steps in order.
Which method should I choose for door casing and architrave?
There are 3 common ways to build it: trim only (keep the casing), replace the whole casing + trim and repaint the existing casing & trim. Choose a method at the top of the page — the guide, material list and cost then adapt to that solution.
What's the most common mistake?
The mistakes we see most often: using ordinary expanding foam instead of low-expansion — the casing gets pushed out of plumb and the door hangs crooked, forgetting the diagonal measurement on the casing — the door sticks or rubs against the frame and nailing the trim too close to the edge — it splits. pre-drill or use a nail gun. Read through the whole guide once before you start — that way you'll avoid most of them.
And that's it, done.
Take a step back, pour a cup of coffee and enjoy. You built it yourself.
Next project: Replace a windowDid this guide help you?
Your opinion helps us improve our content.
Built something you're proud of?
Send us photos of your finished project — we pick out and publish them as inspiration for others who want to replace door casing & trim.
Related indoor projects
If you're planning to replace door casing & trim, one of these projects is often a great fit to do at the same time.
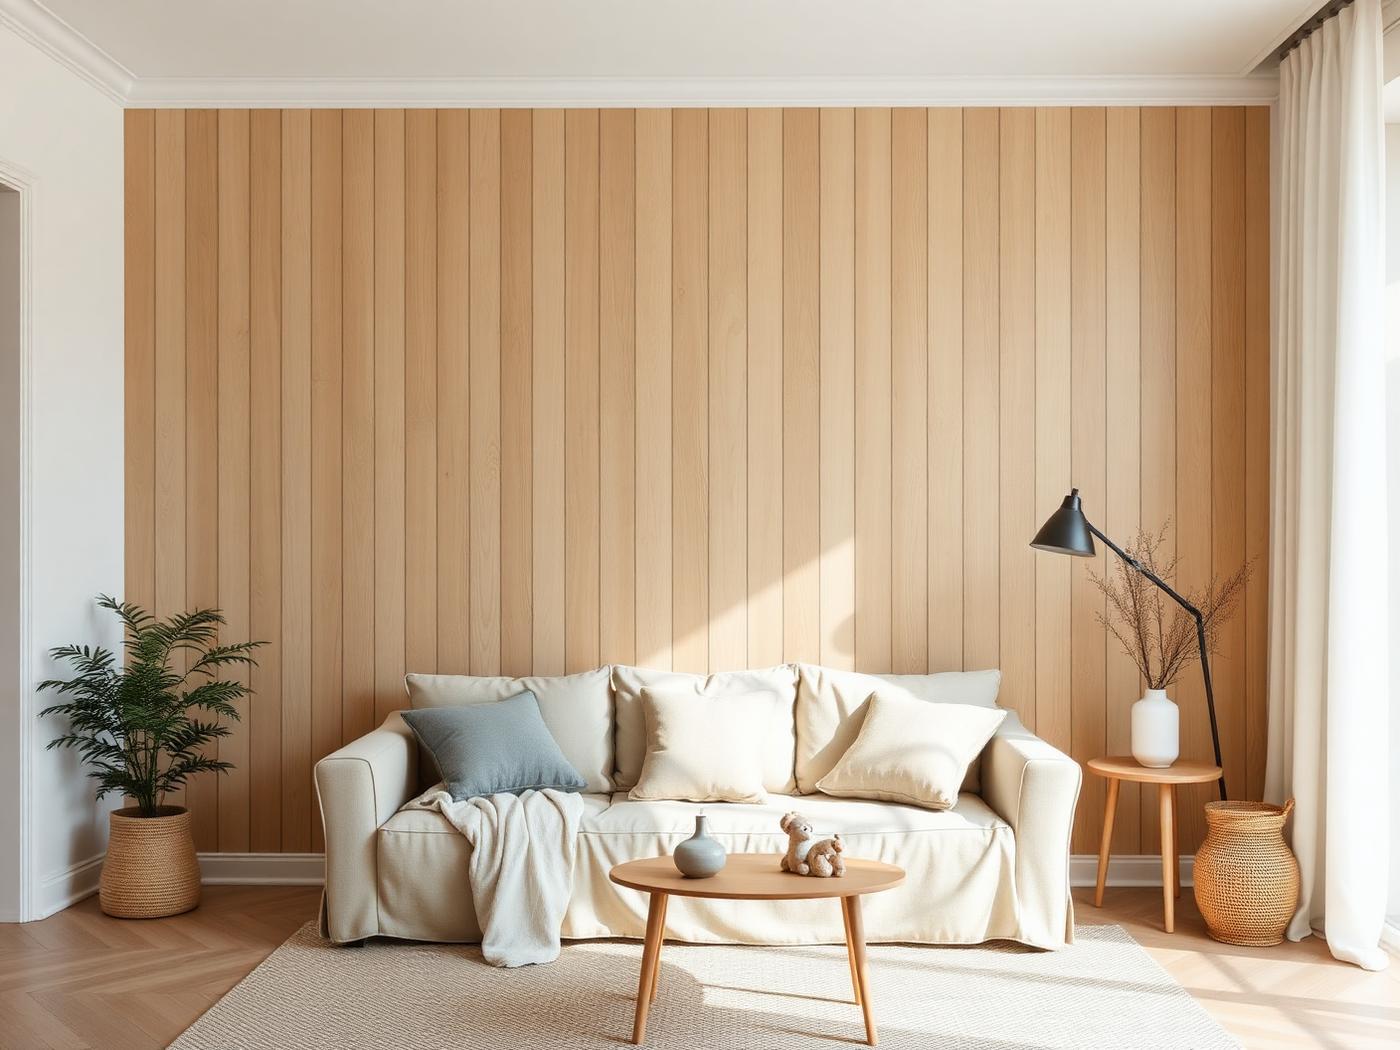
Install wall panelling
Transform a room with warm wood panelling — in a weekend.
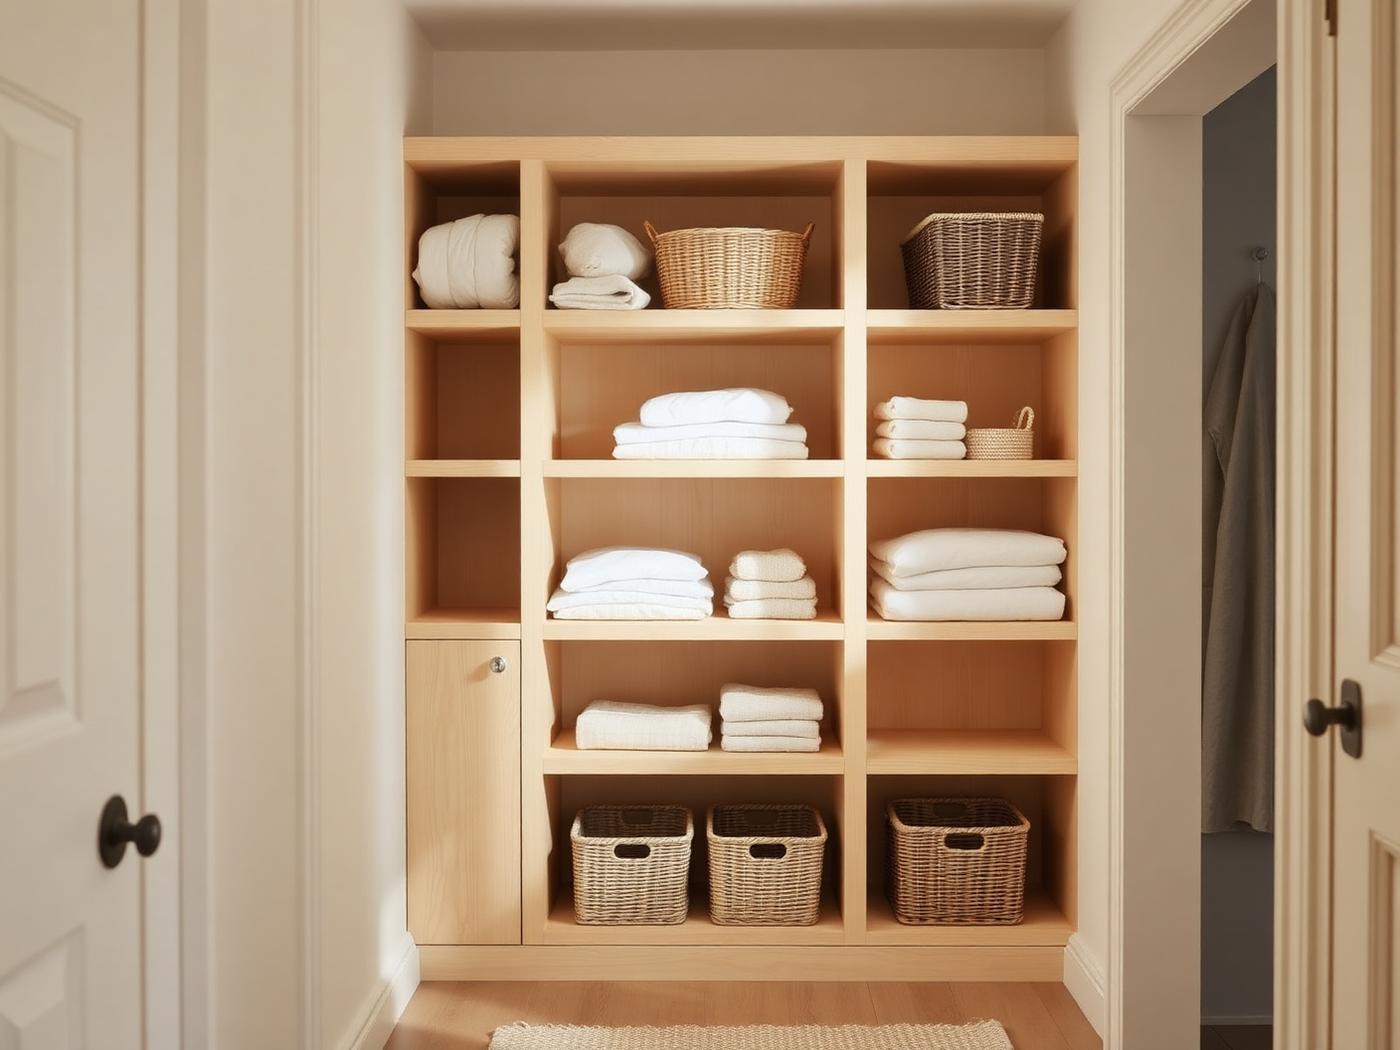
Build storage
Built-in shelving that looks like it's always belonged there.
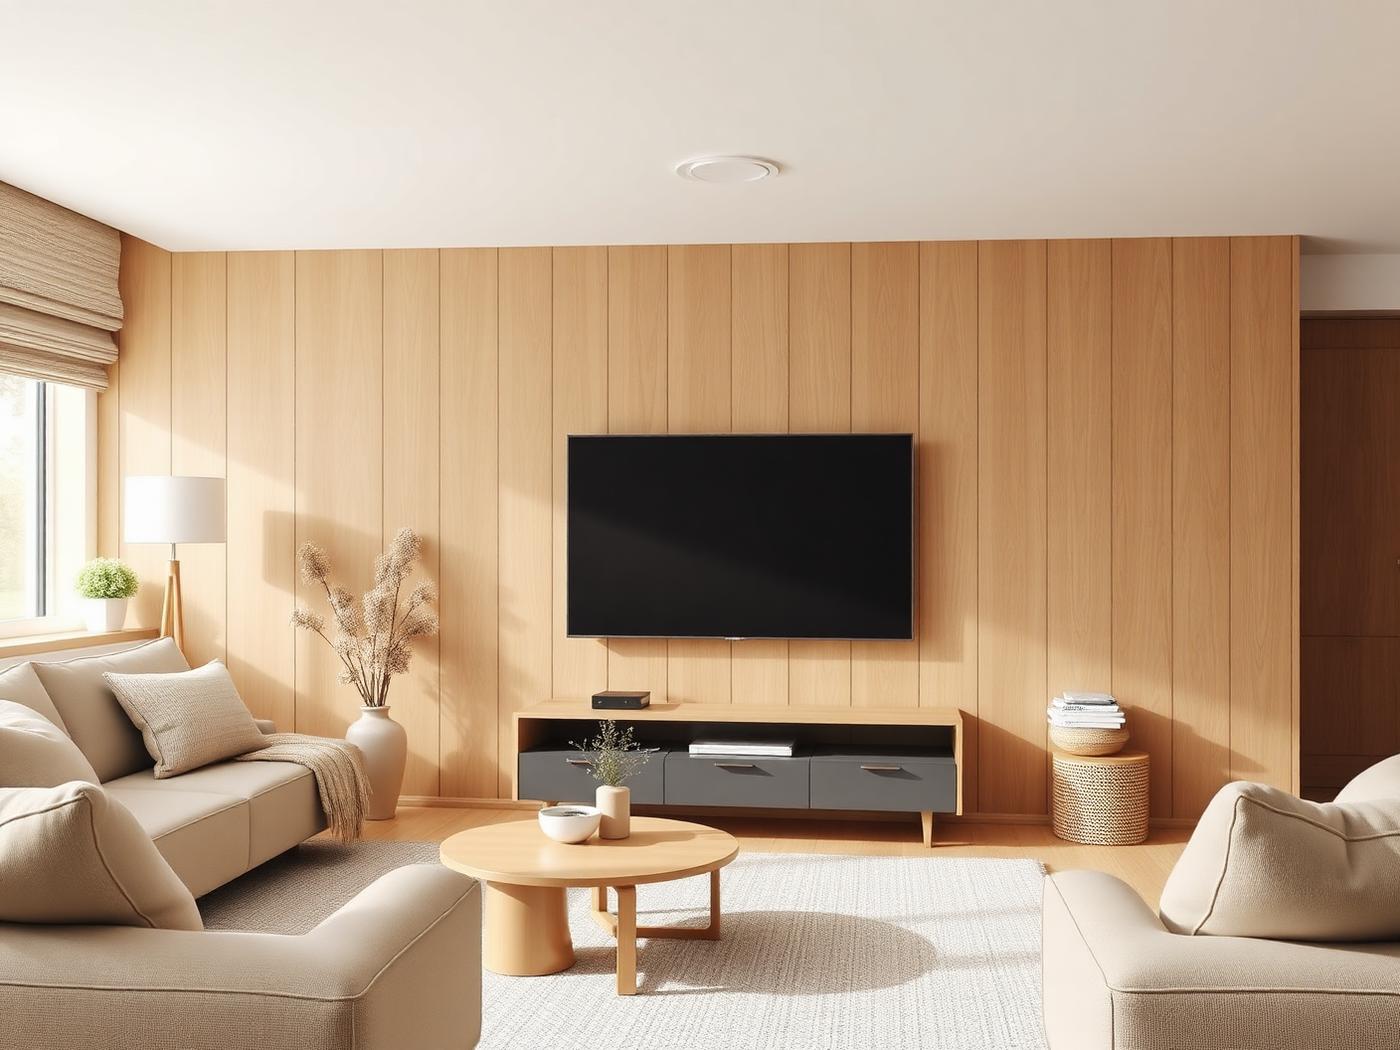
Mount a TV
Hang the TV straight, securely and with hidden cables — in an afternoon.