Build a fence — step by step
A straight, attractive wooden fence that frames the plot — in two weekends.
This is a complete guide to build a fence yourself — step by step, with a material list, tools, a timeline and what it costs. It's written for anyone building at home without professional experience: count on 2–3 weekends and a material cost of around 6,000–18,000 kr.
Showing method: Wooden fence (picket fence)Recommended
The price is an estimate based on typical material prices and can vary depending on size, material choice, location and store.
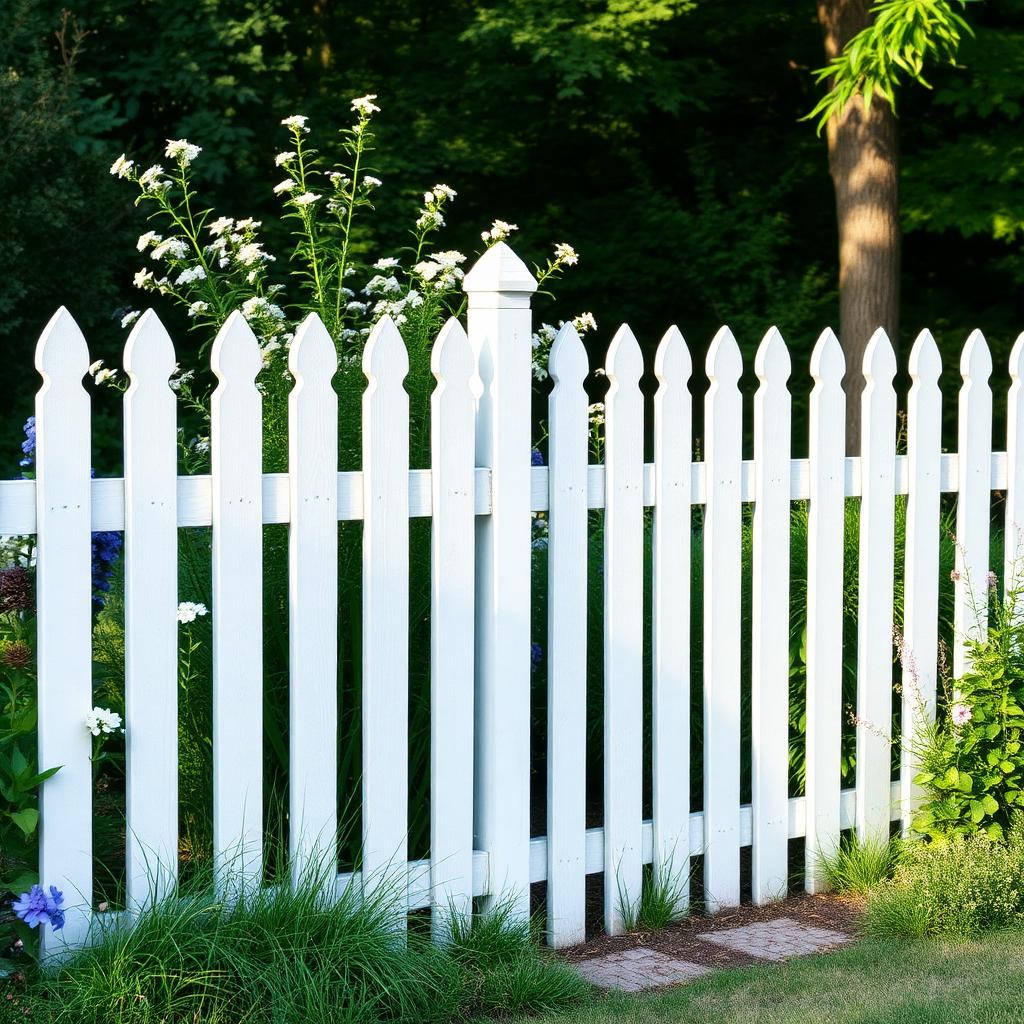
Which method suits you best?
Best for: Most plots where you want a classic, attractive fence that frames the garden and ages with charm.
Please note: Material quantities, prices and building methods are guidelines. Always check current prices, local regulations and product instructions before starting a project.
How a fence comes together
A fence gives the plot a clear frame, a sense of calm and a bit of privacy. The secret lies in straight posts and even spacing — the rest is repetition. We'll cover how to set the posts firmly and get the pickets landing at exactly the same height all the way along.
Materials for a fence — full list
Check items off while you shop — the list stays with you on the page.
Build a fence step by step
- 01
Mark out the run
Drive pegs into the corners and stretch a string line straight between them. Mark post positions 1.8 m apart — mark with chalk or a peg in the ground.
Tip: Stand back and look along the string before you start digging — it's easier to adjust now than later. - 02
Dig the holes
Dig 70 cm deep holes for each post — that's below the frost line so they don't shift in winter. A powered auger does the job in minutes.
- 03
Set the posts in concrete
Stand the post in the hole and check it's plumb from two directions. Pour in fast-setting concrete and water. Brace the post with diagonal struts until the concrete has cured.
Tip: Set all the corner posts first — then you can stretch a string between them as a height reference for the rest. - 04
Screw on the rails
Two rails per section — one high up and one lower down. Use a spirit level so they're horizontal. Fix with two screws into each post.
- 05
Screw on the pickets
Start at a post. Use a spacer (e.g. a 20 mm offcut) between each picket so the gaps are exactly even. Check plumb at regular intervals.
Tip: Pre-drill the pickets near the ends — otherwise the pine splits easily. - 06
Cut the top straight
Once all the pickets are on, stretch a string at the desired height and saw off the tops with a circular saw or jigsaw. This gives a knife-sharp line across the whole fence.
- 07
Oil or stain
Wait until the wood is dry and apply two coats of oil or stain. This protects against moisture and keeps the colour even for several years.
Help specific to build a fence
How the time breaks down
A 20 metre fence is built in 2–3 weekends. Most of the time goes into the posts — the pickets themselves go quickly.
- Measuring & marking out2–3 hours
- Digging ~12 post holesWeekend 1 (6–8 h)
- Setting posts in concrete + curing timeWeekend 1 (4 h + 1 day)
- Fitting rails (top + bottom)Weekend 2 (3–4 h)
- Screwing on pickets (~200 pcs)Weekend 2 (6–8 h)
- Cutting the top + oilingWeekend 3 (4–6 h)
How to save time
- Hire a powered auger (350 kr/day) — saves at least half a weekend.
- Make a spacer jig from a piece of wood — it's both faster and neater.
- Work two people at the picket stage — one holds, one screws.
Questions and answers about build a fence
How do you build a fence?
A fence gives the plot a clear frame, a sense of calm and a bit of privacy. The secret lies in straight posts and even spacing — the rest is repetition. We'll cover how to set the posts firmly and get the pickets landing at exactly the same height all the way along. The guide breaks the work into 7 steps — you start with mark out the run, dig the holes and set the posts in concrete and work your way forward at your own pace.
How much does it cost to build a fence?
Material cost is typically 6,000–18,000 kr. Total cost 6,000–18,000 kr for a 20 m fence. The pickets are the biggest expense. The biggest items are fence pickets 22×95 mm (~200 pcs) 2,500–6,000 kr, posts 70×70 mm pressure-treated (~12 pcs) 1,200–2,400 kr and rail timber 45×70 mm (~40 m) 800–1,600 kr. The price varies with size, material choice, location and store.
What materials do you need for a fence?
You'll need things like posts 70 × 70 mm pressure-treated, rail timber 45 × 70 mm, fence pickets 22 × 95 mm pine, post shoes or post brackets and fast-setting concrete — the full material list with quantities is in the guide and can be checked off while you shop. Tools you'll need at home: drill & batteries, post-hole auger or spade, long spirit level and string line.
How long does it take and how hard is it?
Count on 2–3 weekends for a fence. A 20 metre fence is built in 2–3 weekends. Most of the time goes into the posts — the pickets themselves go quickly. The difficulty level is easy, so you can manage it without professional experience if you follow the steps in order.
Which method should I choose for a fence?
There are 4 common ways to build it: wooden fence (picket fence), mesh fence (chain-link), metal fence (wrought iron or steel) and composite fence (wpc). Choose a method at the top of the page — the guide, material list and cost then adapt to that solution. We recommend wooden fence (picket fence) for most homes.
What's the most common mistake?
The mistakes we see most often: not digging deep enough — the posts lean after the first winter, not using a spacer between the pickets — the gaps become uneven and it shows from a distance and screwing on the pickets without pre-drilling — pine splits easily near the ends. Read through the whole guide once before you start — that way you'll avoid most of them.
And that's it, done.
Take a step back, pour a cup of coffee and enjoy. You built it yourself.
Next project: Build an interior wallDid this guide help you?
Your opinion helps us improve our content.
Built something you're proud of?
Send us photos of your finished project — we pick out and publish them as inspiration for others who want to build a fence.
Related outdoor projects
If you're planning to build a fence, one of these projects is often a great fit to do at the same time.
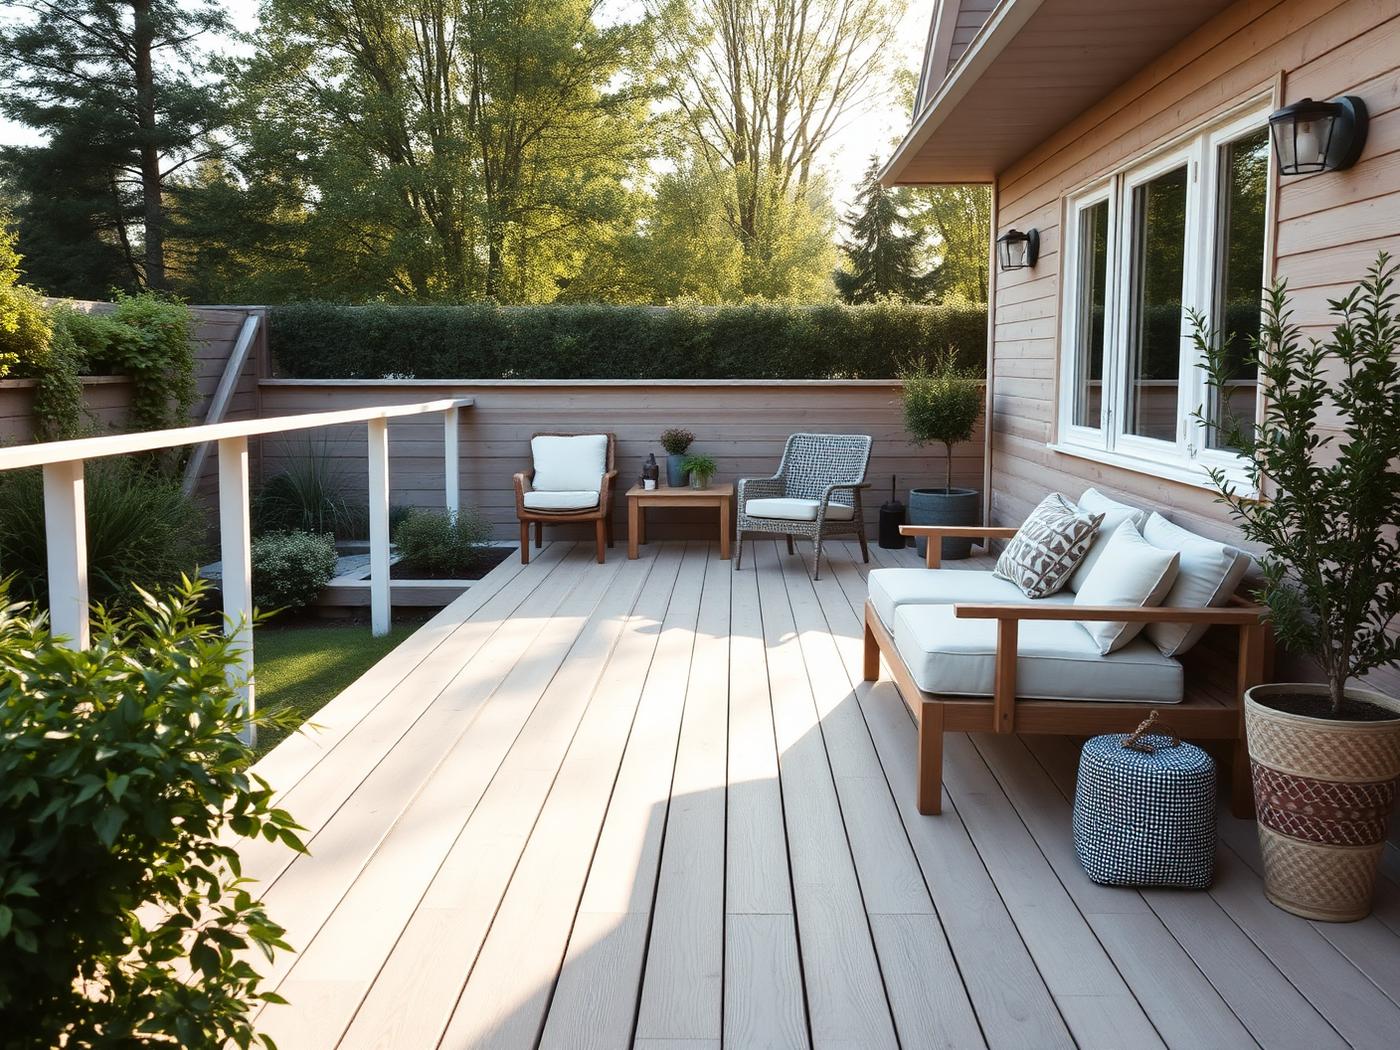
Build a deck
A classic timber deck built over six weekends — a place to breathe out.
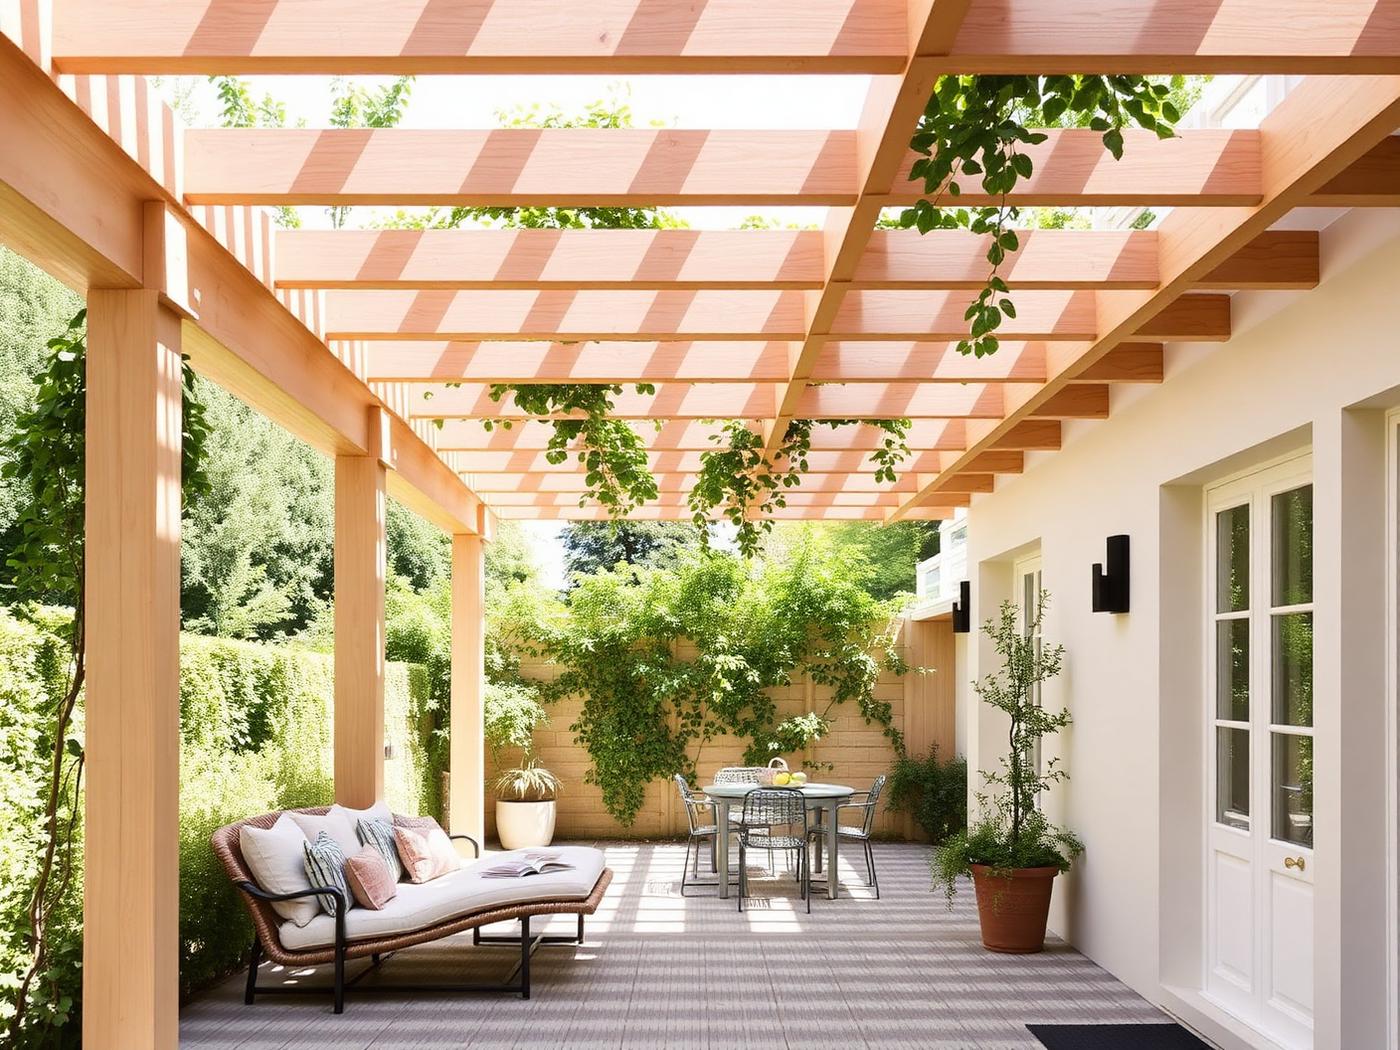
Build a pergola
Create an outdoor room with an airy pergola in light-coloured wood.
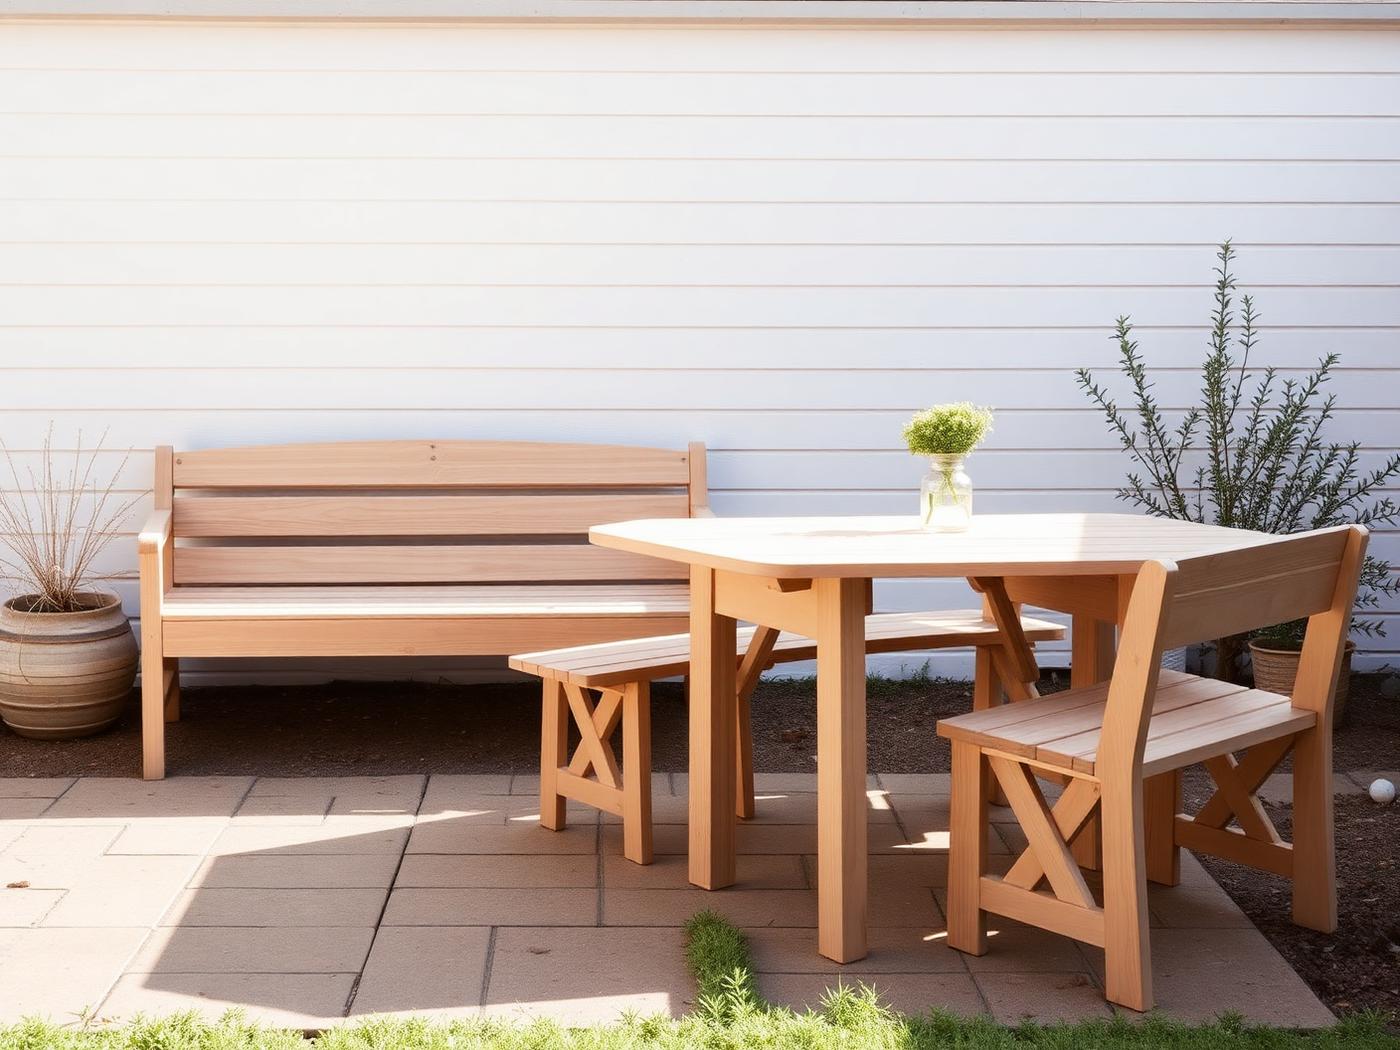
Build outdoor furniture
A sturdy garden bench that lasts for decades.